Instructions below are for using a security function on Ricoh printers allowing users to “lock” or hold their print until they are physically in front of the printer to “release” the actual printed piece of paper.
The instructions below are applicable to the following printers:
Ricoh in Bloedel Hall 095 (BLD-095-RicohMPC4504)
Ricoh in Gerberding Hall B054L (GRB-B054L-RicohIMC3500)
Ricoh in Mary Gates Hall 015 (MGH-015-RicohMPC4504)
Ricoh in Mary Gates Hall 095 (MGH-095-RicohMPC307)
Ricoh in Mary Gates Hall 330 (MGH-330-RicohMPC4504)
Ricoh in Mary Gates Hall 370A (MGH-370A-RicohMPC4504)
Ricoh in Mary Gates Hall 420 (MGH-420-RicohIMC4500)
Ricoh in Tower (TWR-RicohMPC4504)
Windows
Mac
locked printing in Windows
(Word is used in the example below. However, this option works with Excel and other programs.)
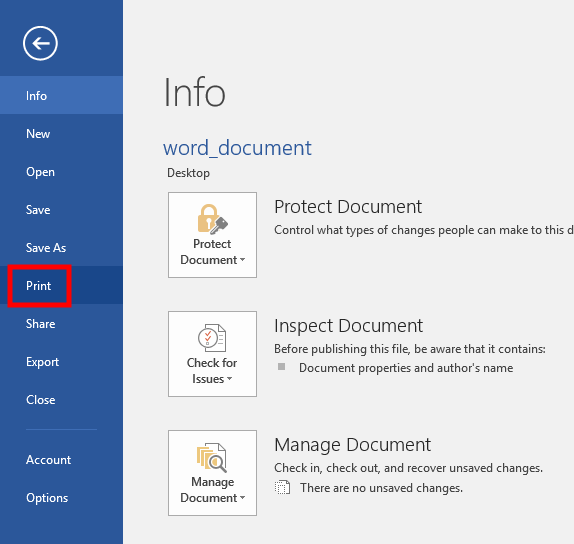
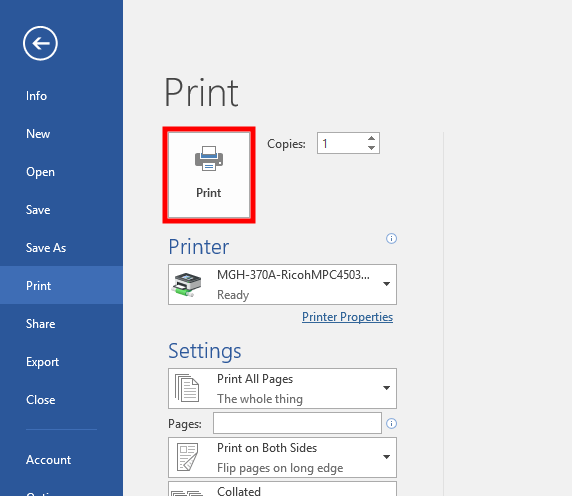
01) click File

02) click Print
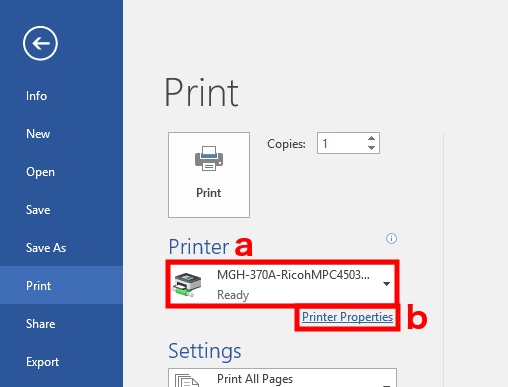
03) select one of the printers listed above, click Printer Properties
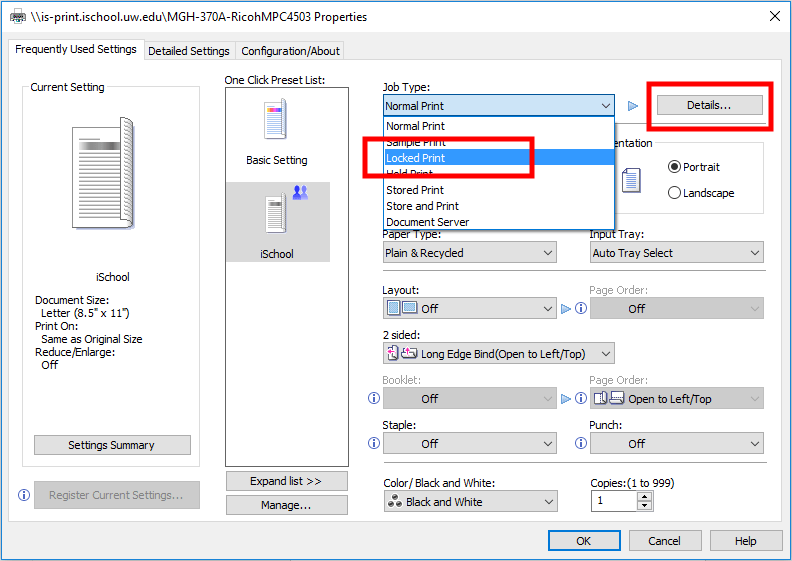
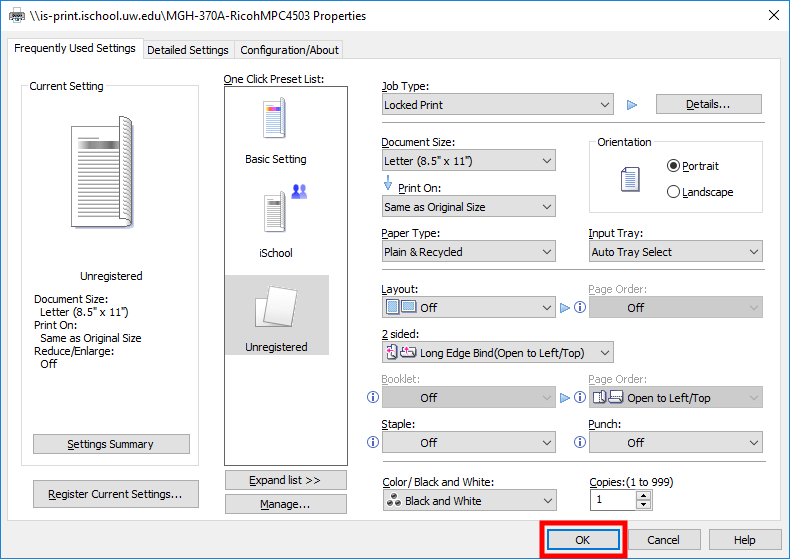
04) from the “Job Type:” drop-down, select Locked Print, click Details…
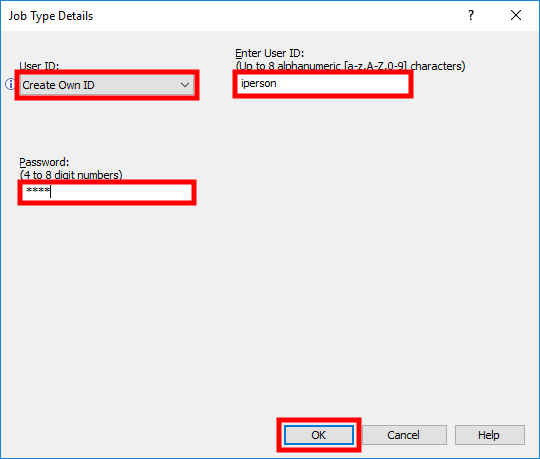
05) in the Job Type Details window, use the following settings:
User ID: use Create Own ID
Enter User ID: use your UW NetID
Password: use any number with 4 to 8 digits, it must be memorable to you, you will need to type in this number while physically at the printer
click OK
06) click OK
07) click Print
At this point, the rest of the steps need to be done while at the printer.
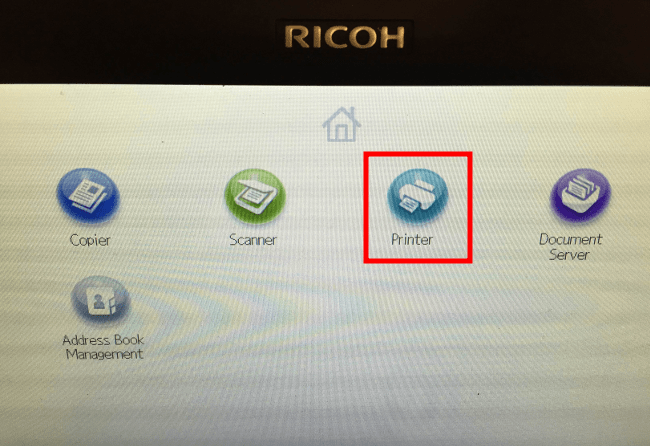
08) (on the Ricoh printer interface) press Printer
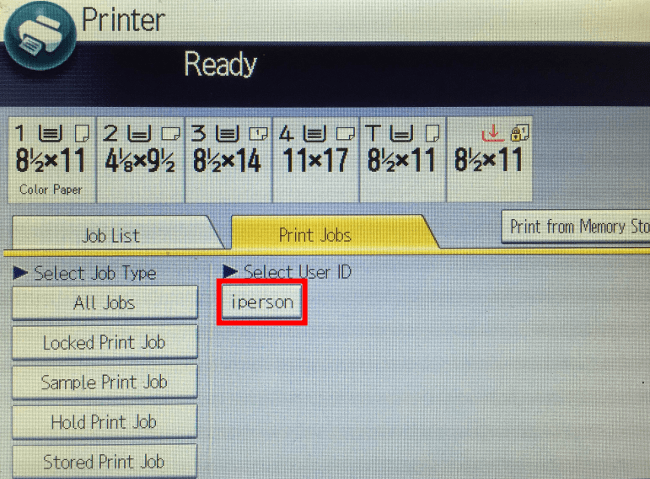
09) press Print Jobs

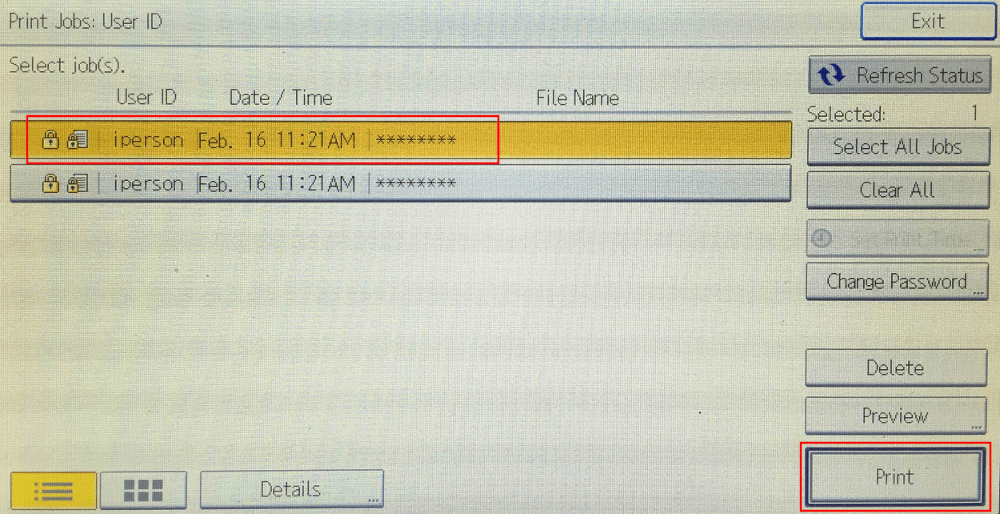
10) select the User ID you created in step 05
11) select the correct print job, press Print
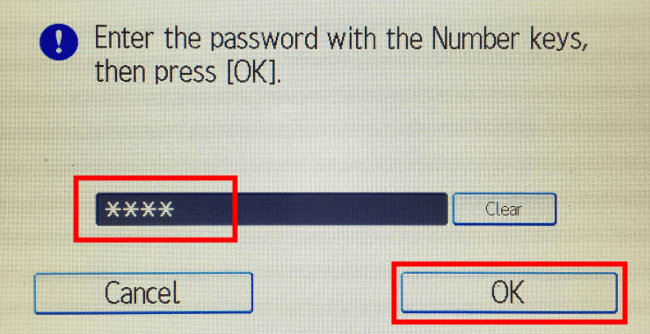
12) enter the password you created in step 05, press OK
13) change the quantity of print copies desired if necessary (1 copy is default), press Print

locked printing in Mac OS
(Word is used in the example below. However, this option works with Excel and other programs.)
01) click File, click Print…

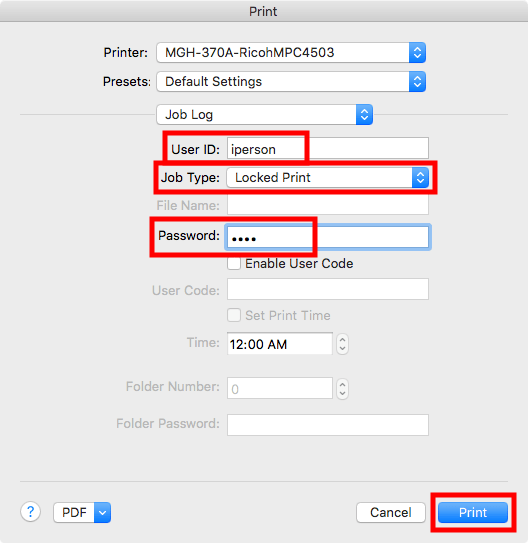
02) select any printer listed above from the “Printer:” drop-down, select Job Log from the third drop-down

03) for “Job Type:” select Locked Print, use the following settings:
User ID: use your UW NetID
Password: use any number with 4 to 8 digits, it must be memorable to you, you will need to type in this number while physically at the printer
click Print
At this point, the rest of the steps need to be done while at the printer.
04) (on the Ricoh printer interface) press Printer
05) press Print Jobs
06) select the User ID you created in step 03
07) select the correct print job, press Print
08) enter the password you created in step 03, press OK
09) change the quantity of print copies desired if necessary (1 copy is default), press Print


