This process applies to new AWS account setup or transfer an existing AWS account for use on iSchool research or projects. In other words, if the iSchool is involved in paying the bill, you need to use this process for setup of AWS resources.
To get started, send a request to ihelp@uw.edu. iSchool IT staff will need coordinate with you to complete the transfer process. It may help to review the role responsibilities listed in the AWS overview to better understand how each party is involved. Below are the steps that iSchool IT will work through with you to complete the AWS setup/transfer process:
Step 1: Obtaining a BPO (linked to the correct budget) is a necessary prerequisite. This is done by the finance specialist assigned to the project budget. Further info for the BPO requestor: https://itconnect.uw.edu/wp-content/uploads/2016/02/AWS-BPO-How-to-V1.pdf
Step 2a: The requestor must provide iSchool IT info about the AWS account:
- Will this be a “STRIDES Workload Application?” (more info)
- Will this account contain HIPAA data?
- Will this account be used as ‘dev/test’ or ‘production’ environment?
- What is the anticipated use case?
- Will additional selective-access roles (e.g. ‘database-reader’) be needed for individuals/groups?
- If so, describe the required roles, and who will be assigned to them…
- What is the BPO#?
- What is the anticipated monthly budget for this account (rough approximation in $)?
- Do you want DLT’s business support? (adds 10% surcharge on usage, on a monthly basis)
- Department and project name?
- Preferred name for AWS account?
- We recommend that names be chosen based on the funding source/department, rather than the intended use
- Lead contact info: the project owner’s name, email, phone#.
- Purchasing officer contact info: the name, email, phone# of whomever arranged the BPO.
Step 2b: When transferring an existing AWS account, the requestor must share the AWS root login credentials with iSchool IT. The iSchool IT staff can suggest safe means to share account login details. Do not share sensitive info via email!
Step 2c: For existing accounts, iSchool IT will create a request with UW-IT to enable SSO. For new accounts, this has to wait until the AWS account # is created (Step 4).
Step 3: iSchool IT will submit a transfer/new account request to DLT on the user’s behalf and assist with answering any questions that come up. DLT’s account setup/transfer process usually takes a couple weeks, but may take longer if there are complicating factors. At the completion of their process, DLT will provide account setup links for https://app-us.cloudcheckr.com, which is a convenient alternative management console for AWS resources.
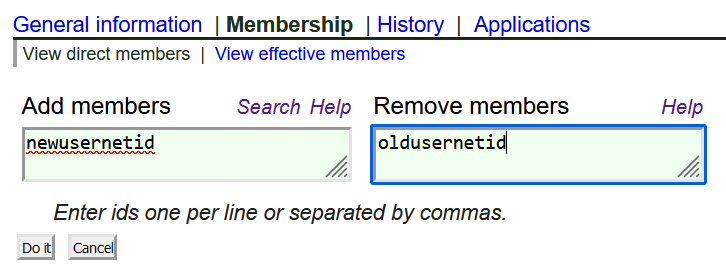
Step 4: AWS UW NetID SSO setup – iSchool IT will request an AWS account stem in UW groups, and create a UW group that can be used for admin logins and double as the root email address for the AWS account. This ensures that notifications related to the AWS account are forwarded to all ‘admins’ on the account. iSchool IT will also create any additional ‘selective-access’ groups that are required. The “lead contact/account owner” designated during the setup process will be granted the right to add/remove members from these groups directly to minimize administrative difficulties.
Step 5: iSchool IT will create a corresponding ‘Admin’ role in the AWS account which will allow the project admins full access to the AWS account using their NetID. If additional ‘selective access’ roles were requested, iSchool IT will also create those as well.
At this point, the standard AWS setup is complete and ready to use…


