Install the CrashPlan file backup application

Install the CrashPlan file backup application

Install the CrashPlan file backup application

This page includes detailed instructions for installing the CrashPlan file backup software used on all iSchool faculty, staff, and PhD student computers.

Windows instructions

macOS instructions

Windows CrashPlan install instructions

1. Go to the website:

ischool.uw.edu/crashplan

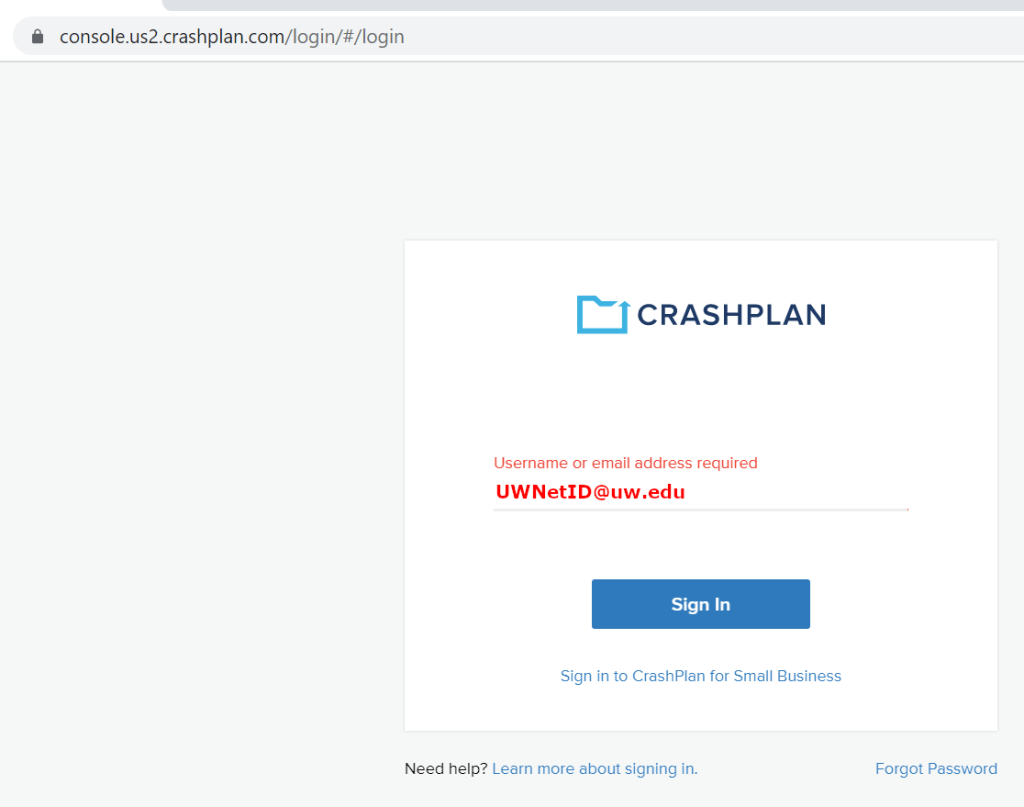
Enter your @uw.edu email address. Click Sign In. Authenticate with your @uw.edu credentials when asked.


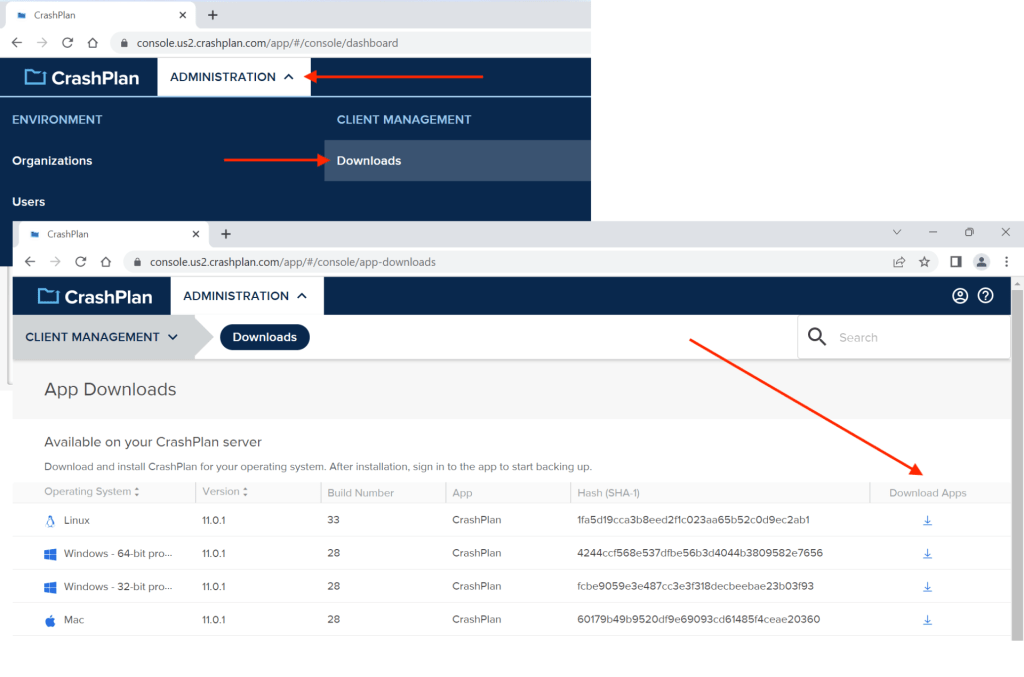
2. Mouse-over ADMINISTRATION, underneath CLIENT MANAGEMENT click Downloads, click the download icon for the most-recent, highest-number-version of the
Windows – 64-bit option to download the installer file.

3. Double-click the downloaded .msi file to install CrashPlan; use/select all of the default installer settings.

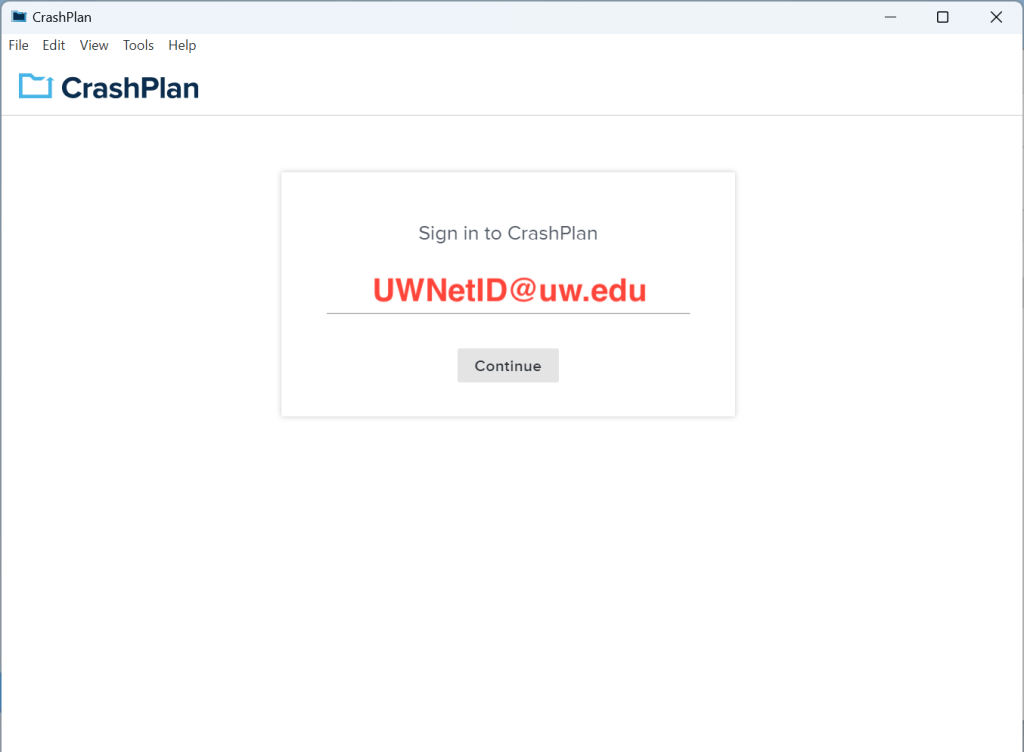
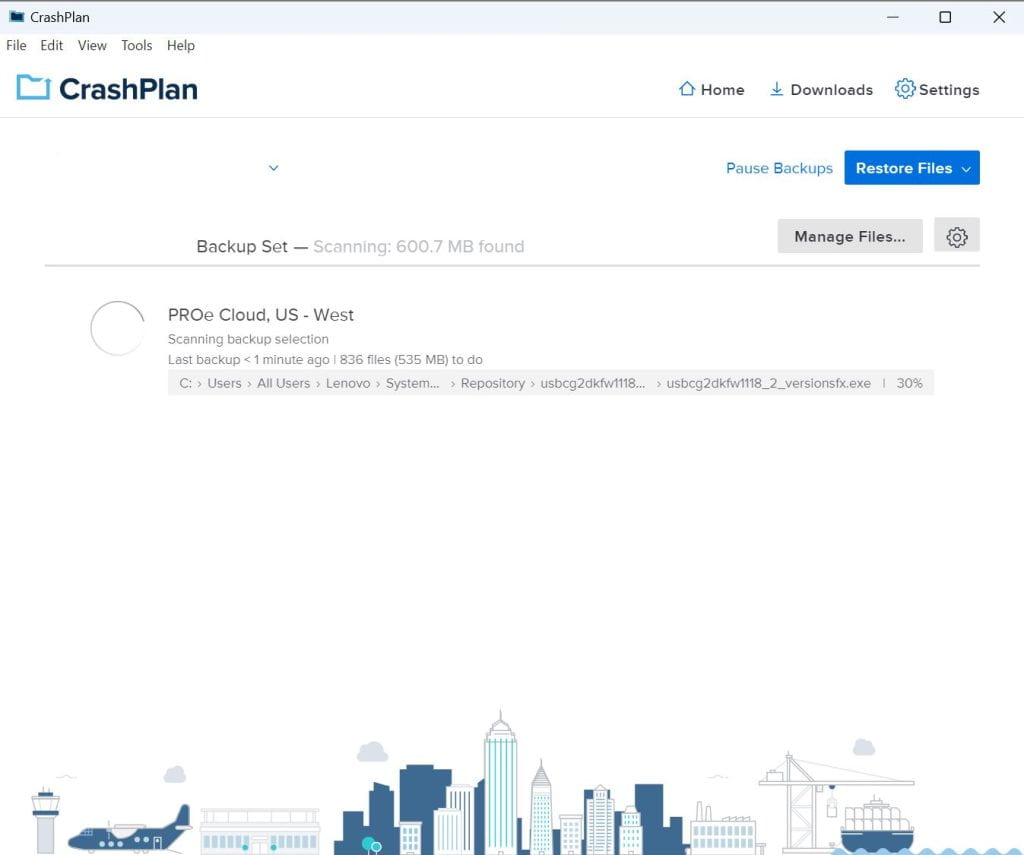
4. Start the CrashPlan application (if it does not open after installation), use the following settings:

Username: your @uw.edu email address

Click Continue.

Authenticate with your @uw.edu credentials if asked.


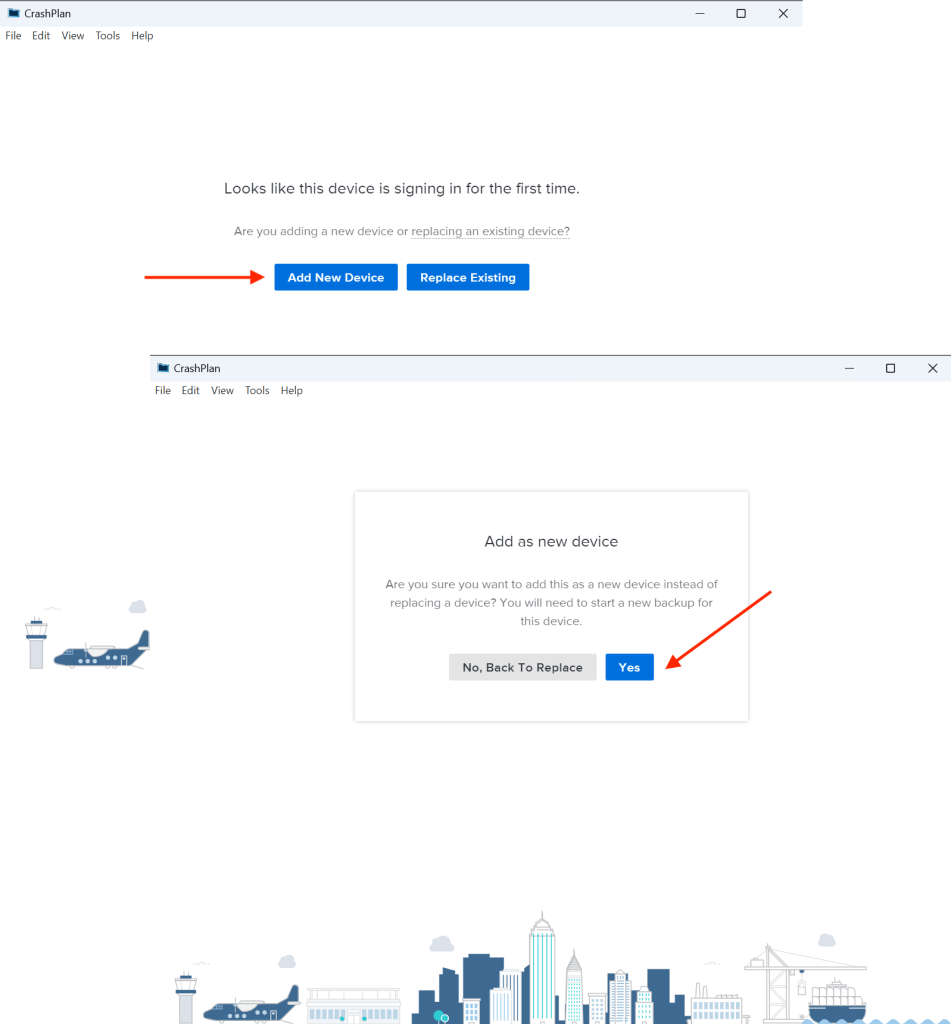
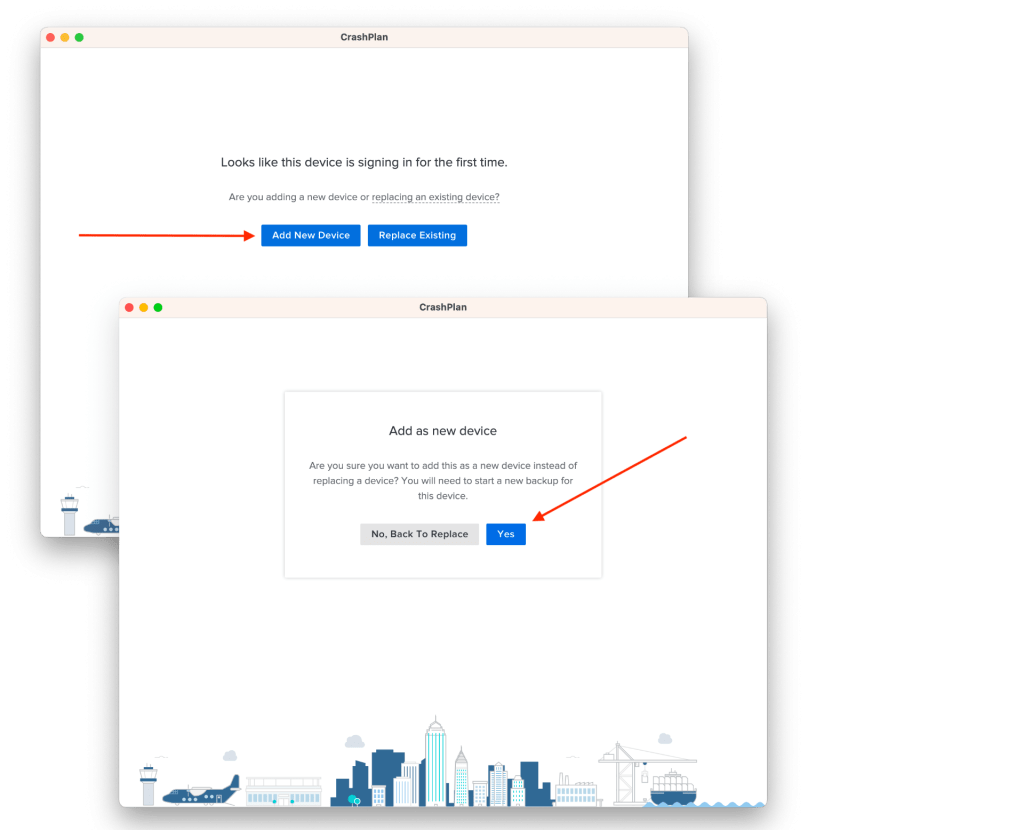
5. Click Add New Device at the “…never backed up” screen, click Yes at the “Add as new device…” screen.


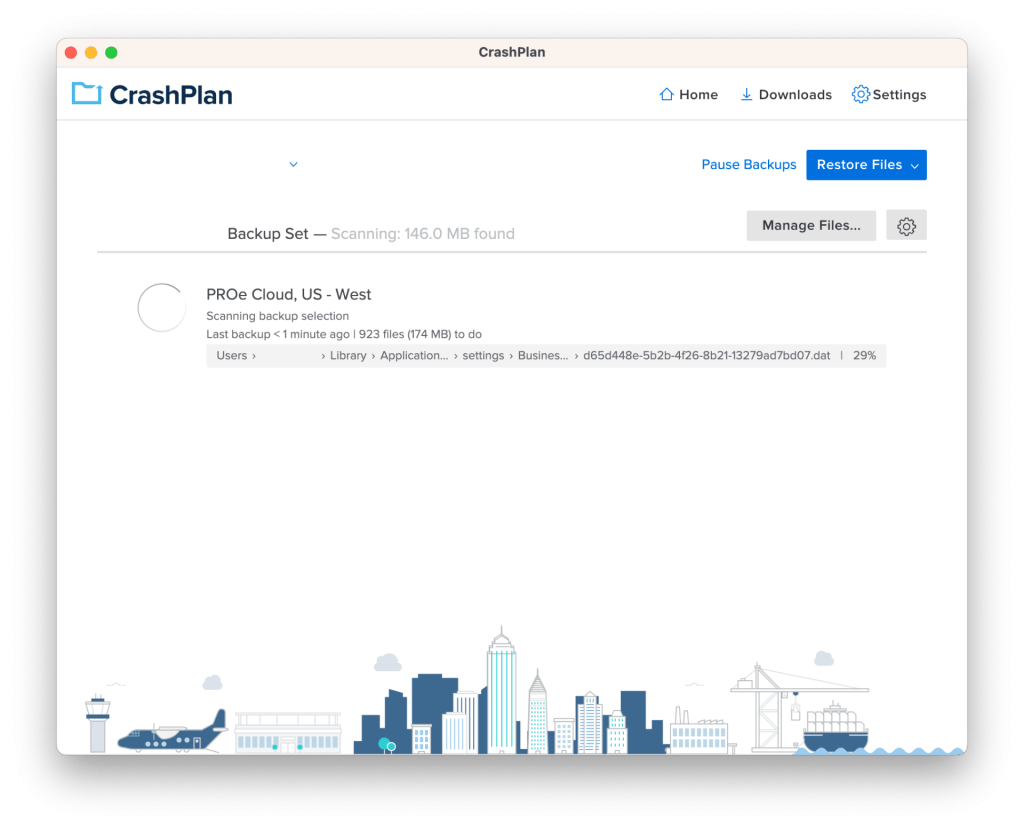
6. The CrashPlan application will start backing up the computer.


macOS CrashPlan install instructions

1. Go to the website:

ischool.uw.edu/crashplan

Enter your @uw.edu email address. Click Sign In. Authenticate with your @uw.edu credentials when asked.


2. Mouse-over ADMINISTRATION, underneath CLIENT MANAGEMENT click Downloads, click the download icon for the most-recent, highest-number-version of the Mac option to download the
installer file.

3. Open the downloaded .dmg file, double-click the Install CrashPlan.pkg file, click Continue, click Install.

4. Start the CrashPlan application (if it does not open after installation), sign in using the following settings:

Username: your @uw.edu email address

Click Continue.

Authenticate with your @uw.edu credentials if asked.


5. Click Add New Device at the “…signing in for the first time…” screen, click Yes at the “Add as new device…” screen.

6. The CrashPlan application will start backing up the computer.

Self Service

Self Service

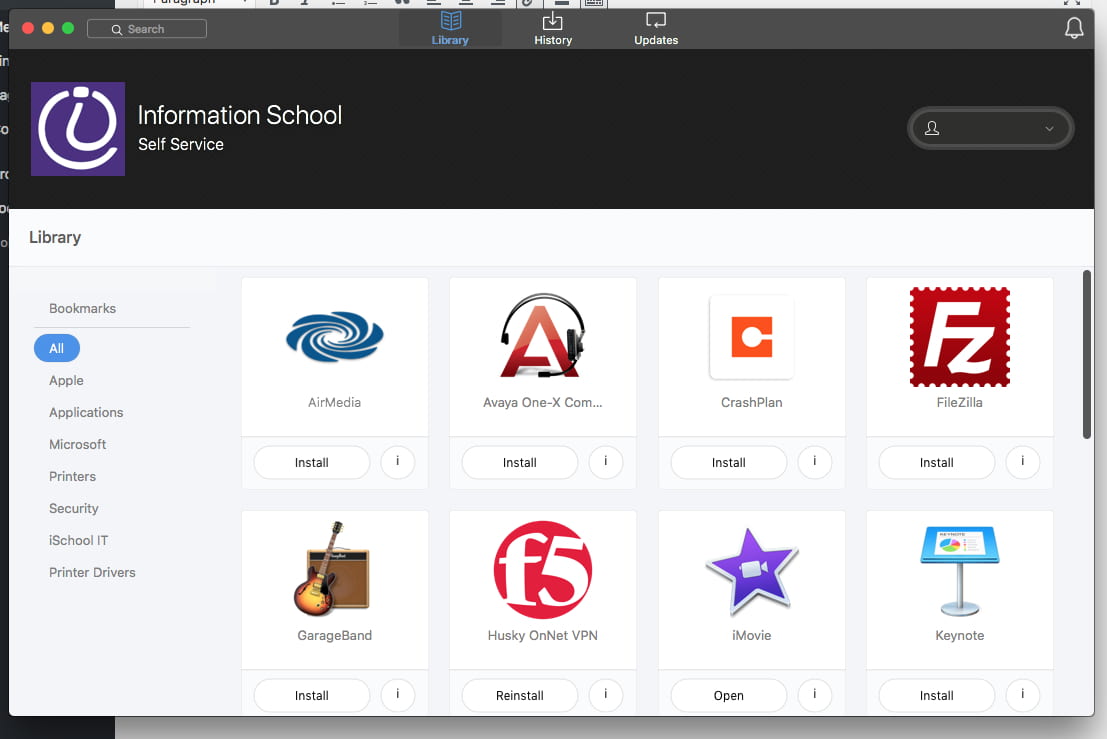
Apple computers owned by the iSchool have access to an application called Self Service. Self Service allows you to install items like applications and printers. To access Self Service:

1) If you are off campus, connect to the Husky OnNet VPN.

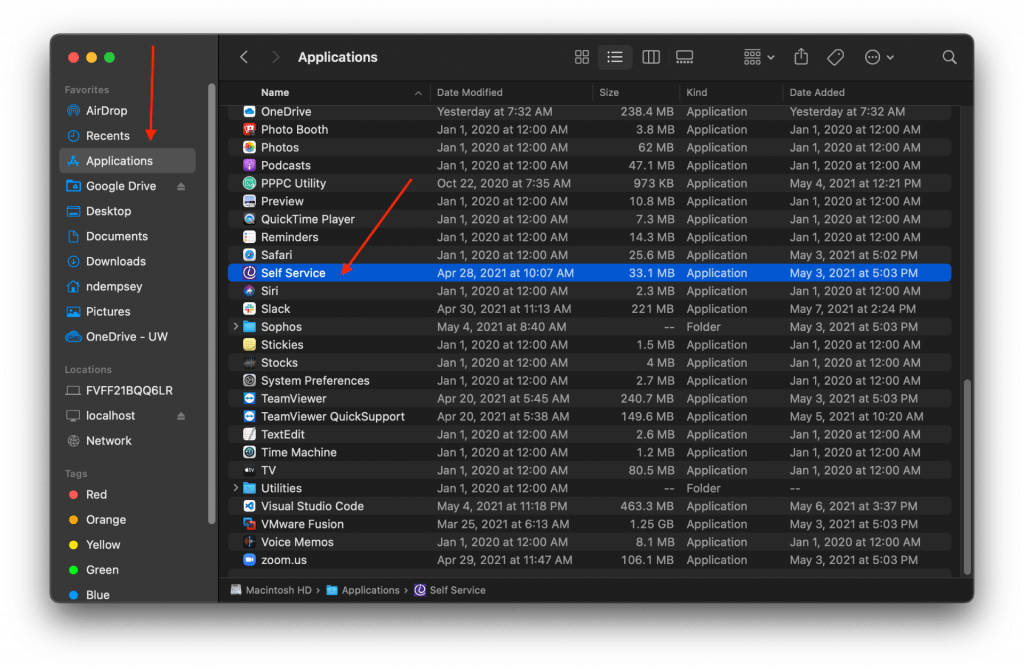
2) Start the Self Service application, found in the Applications folder.

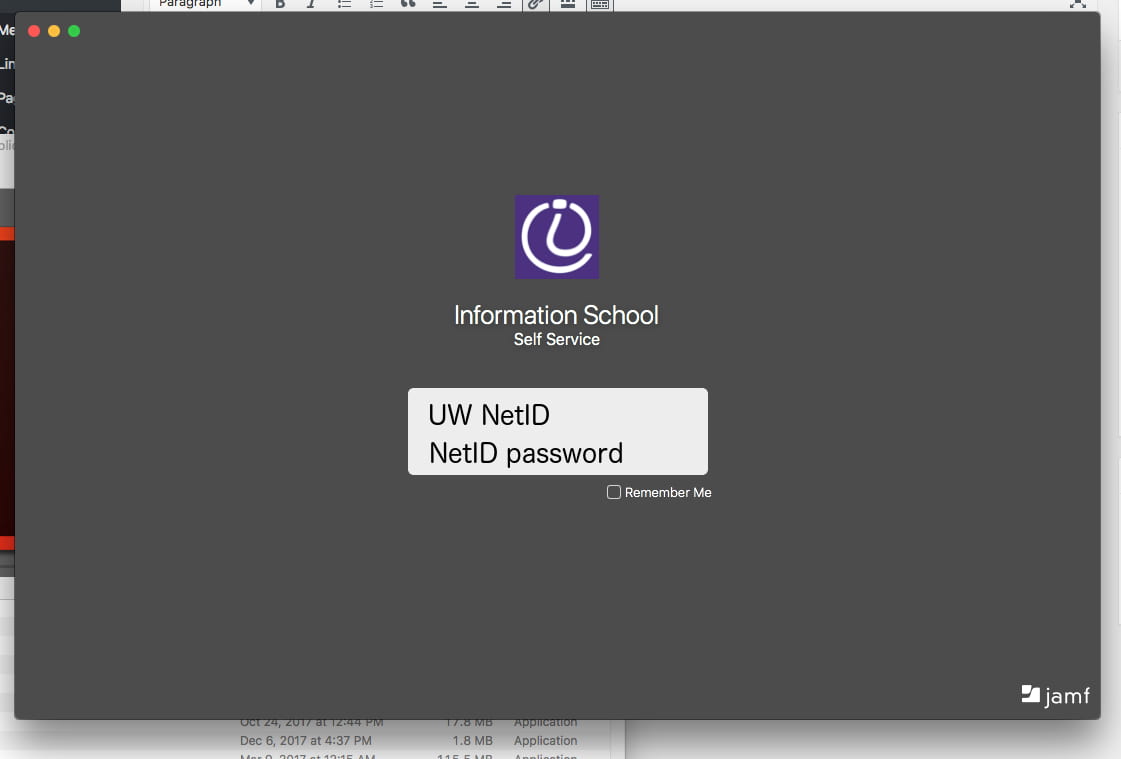
3) Sign into Self Service using your UW NetID credentials.

self_service_sign_in_info

4) Self Service will present you with multiple options.

self_service

FileVault

The iSchool has FileVault configured on all faculty, staff, and PhD student Mac computers. FileVault is an Apple full-disk encryption technology. Once FileVault is turned on, after a computer is restarted or shutdown, only FileVault-unlock-enabled users or a user with the FileVault Recovery Key can access the drive. Once FileVault is turned on, your UW NetID credentials will continue to allow you to sign into the computer; you should see no noticeable change in behavior.

If you are prompted for a FileVault Recovery Key, please contact the iSchool IT Help Desk.

More about FileVault can be found at the websites below:

Protect data on your Mac with FileVault

https://en.wikipedia.org/wiki/FileVault

How to install Apple applications via Self Service

How to install Apple applications via Self Service

Apple apps like GarageBand, iMovie, Keynote, Numbers, and Pages are available to install on iSchool owned Apple computers, from the iSchool managed Self Service application. Using the iSchool managed Self Service application does not require an Apple ID.

Detailed installation instructions are below.

1. Go to the Applications folder in Finder, double-click the application named Self Service


2. Sign in with your UW NetID credentials


3. Under Library, click Apple


4. Click Install for each application you would like to install


5. You will see an installation when the circling blue wheel appears, after a short time the application will be in the Finder Applications folder for use


6. Quit the Self Service application when you are finished