Install the CrashPlan file backup application
This page includes detailed instructions for installing the CrashPlan file backup software used on all iSchool faculty, staff, and PhD student computers.
Windows CrashPlan install instructions
1. Go to the website:
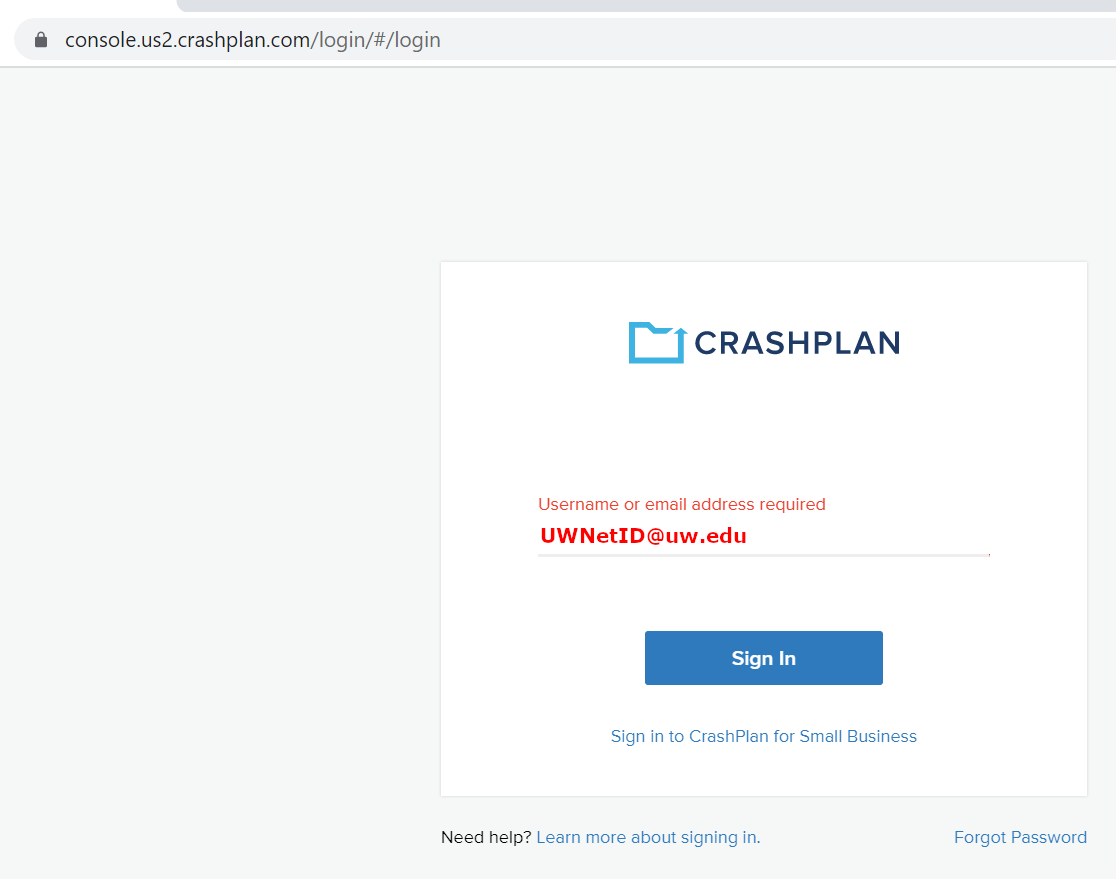
Enter your @uw.edu email address. Click Sign In. Authenticate with your @uw.edu credentials when asked.
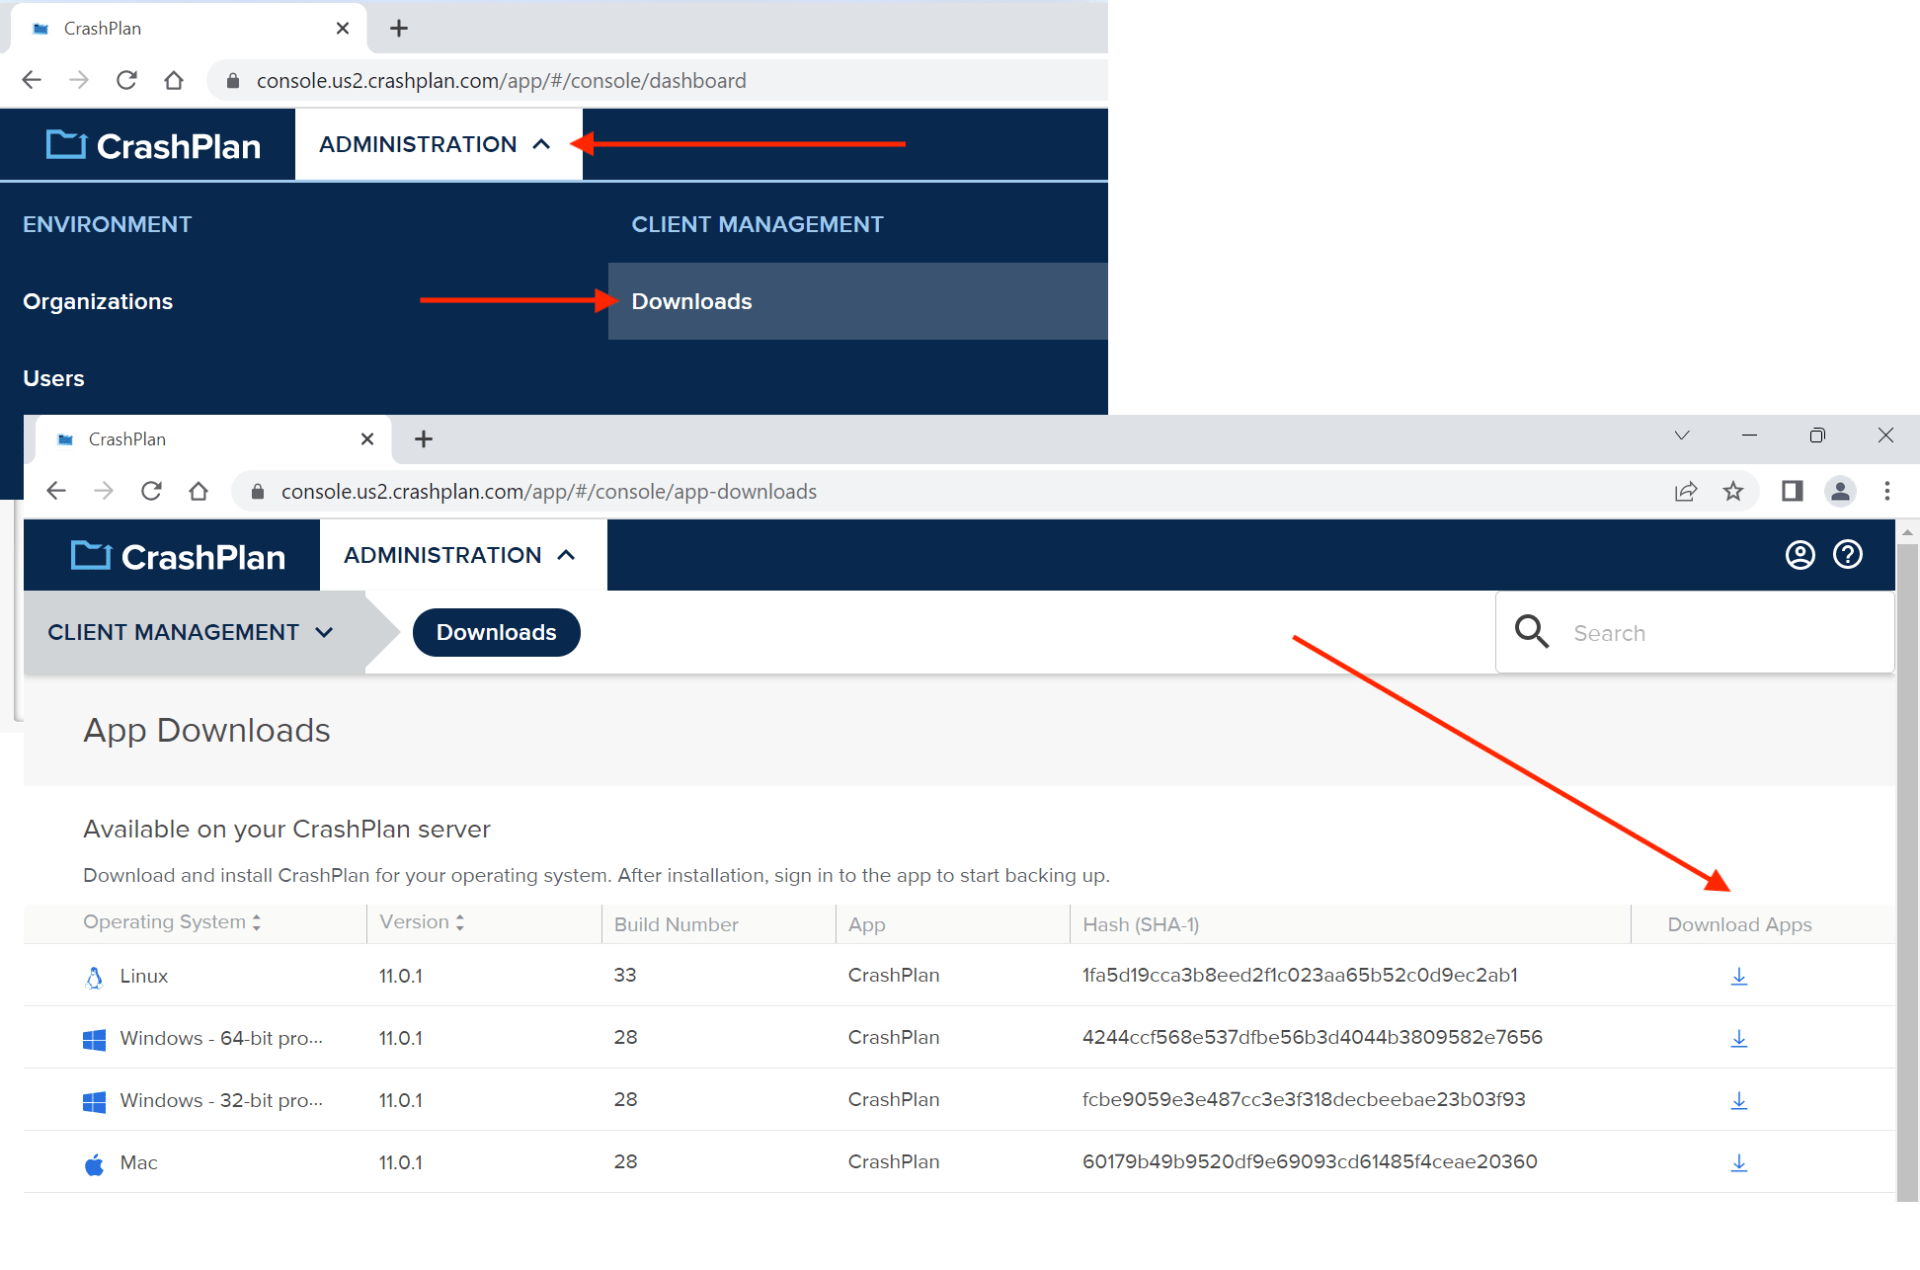
2. Mouse-over ADMINISTRATION, underneath CLIENT MANAGEMENT click Downloads, click the download icon for the most-recent, highest-number-version of the
Windows – 64-bit option to download the installer file.
3. Double-click the downloaded .msi file to install CrashPlan; use/select all of the default installer settings.
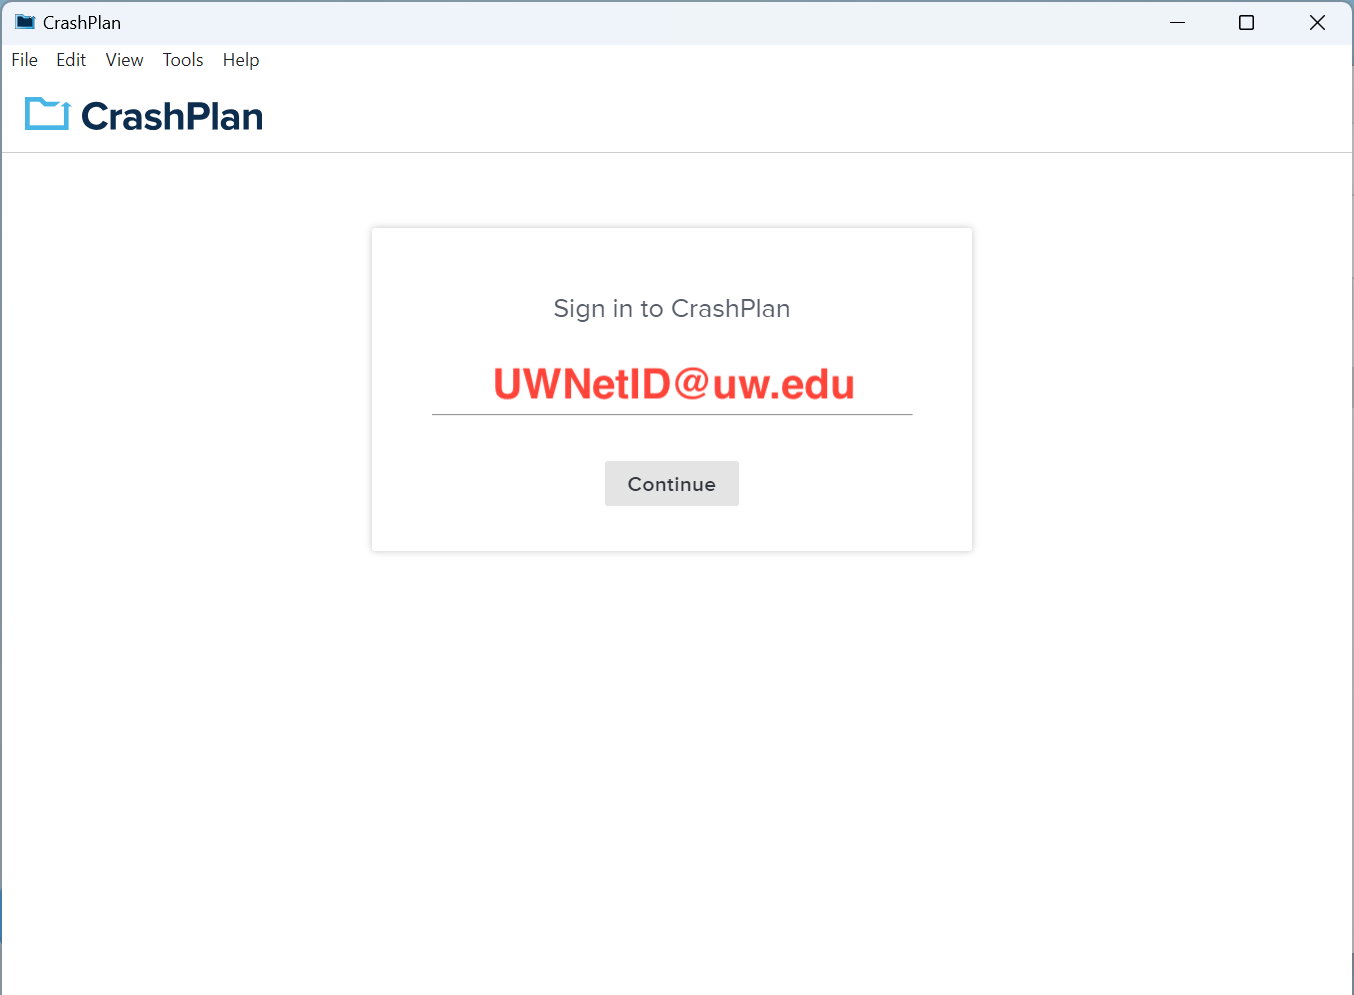
4. Start the CrashPlan application (if it does not open after installation), use the following settings:
Username: your @uw.edu email address
Click Continue.
Authenticate with your @uw.edu credentials if asked.
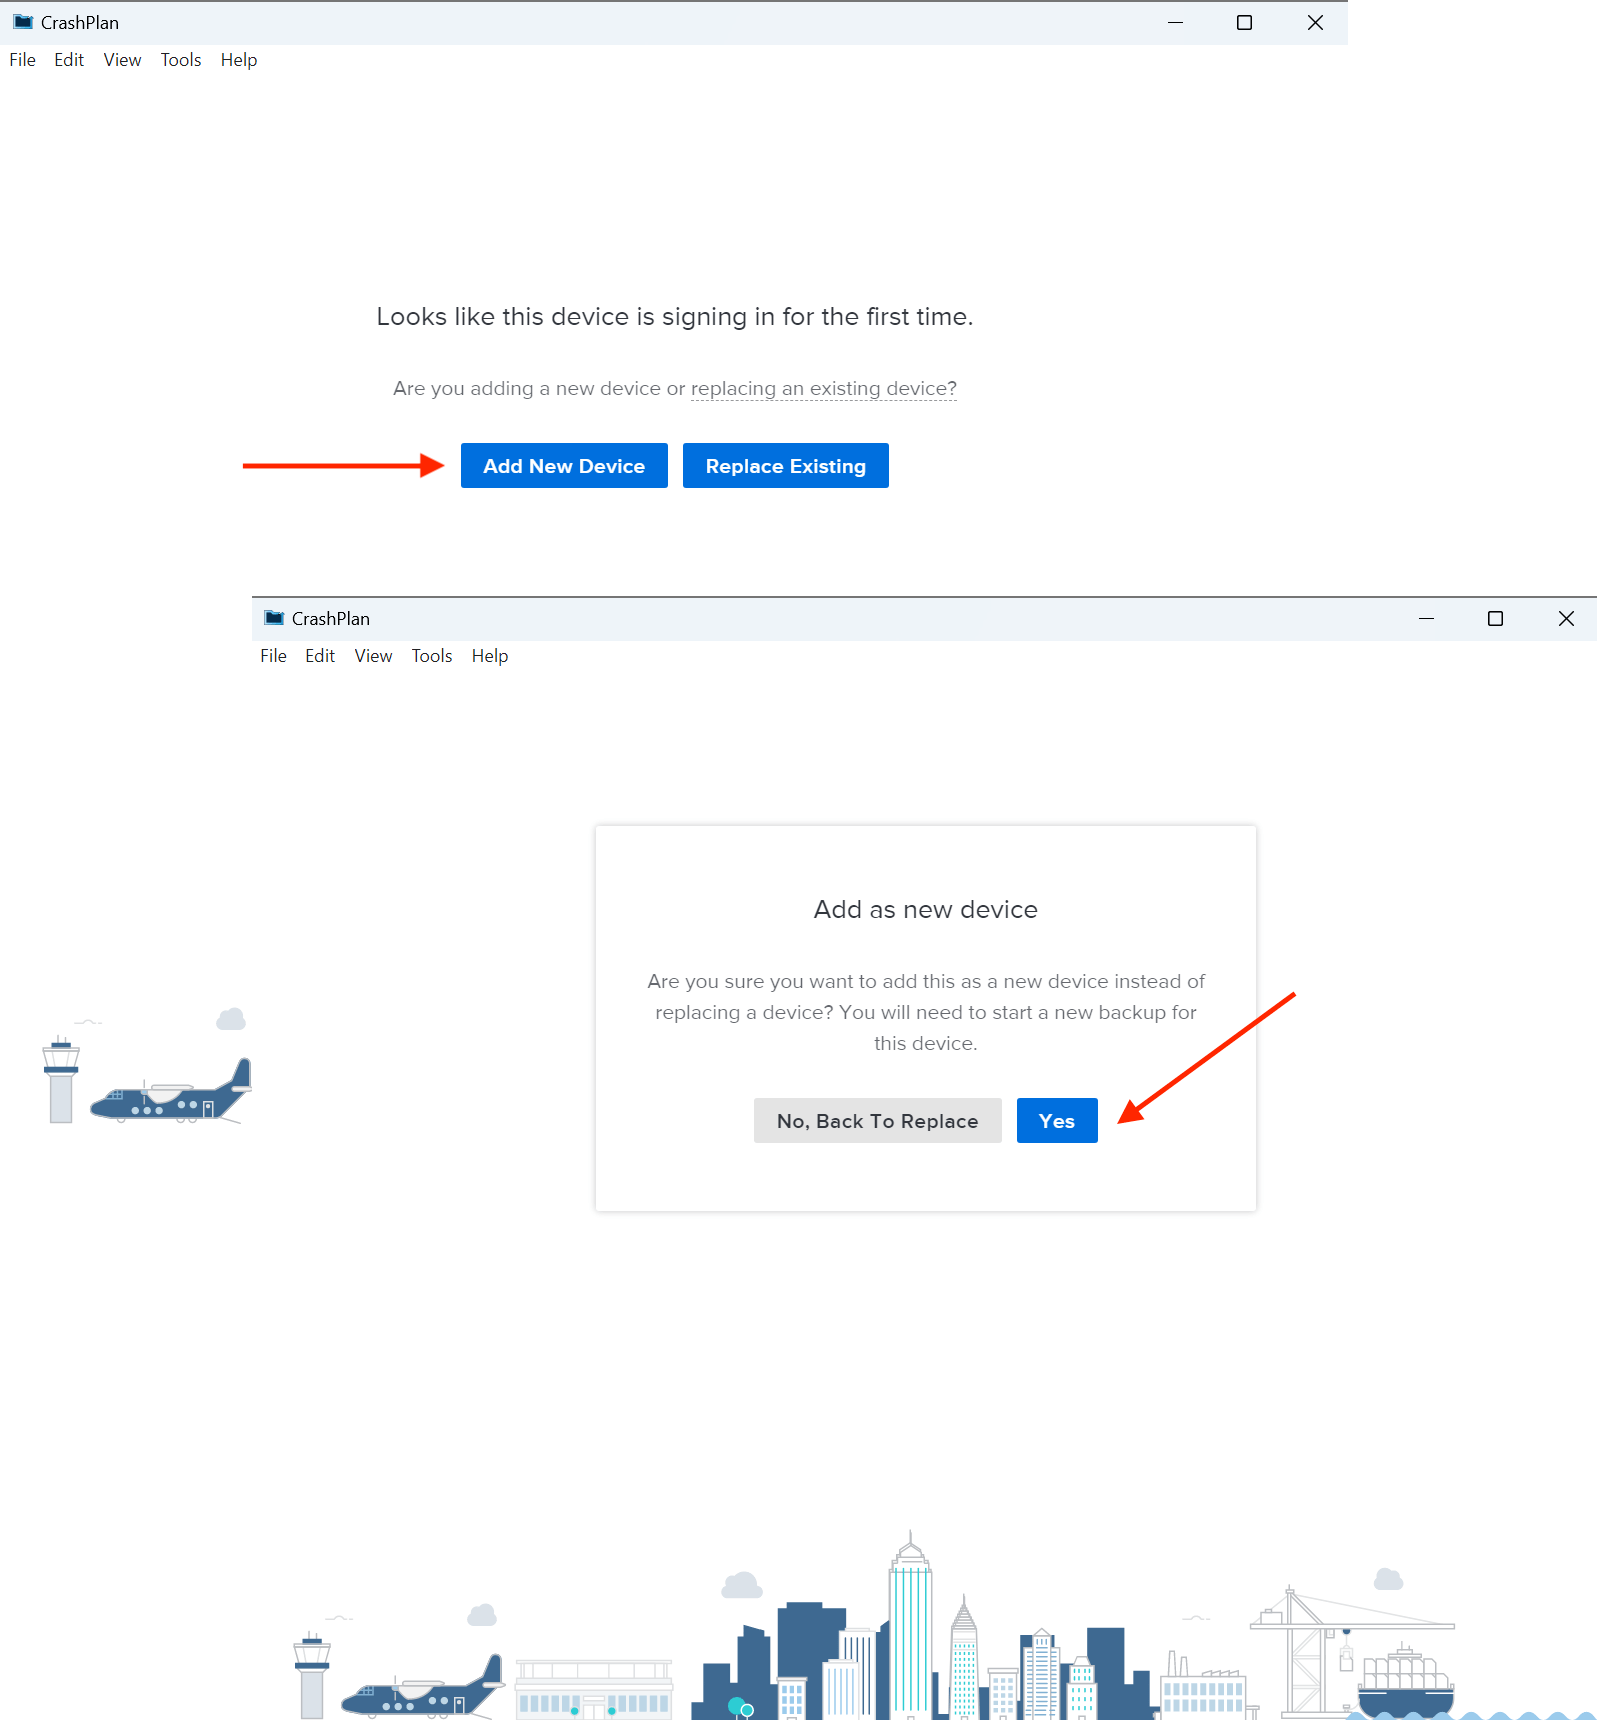
5. Click Add New Device at the “…never backed up” screen, click Yes at the “Add as new device…” screen.
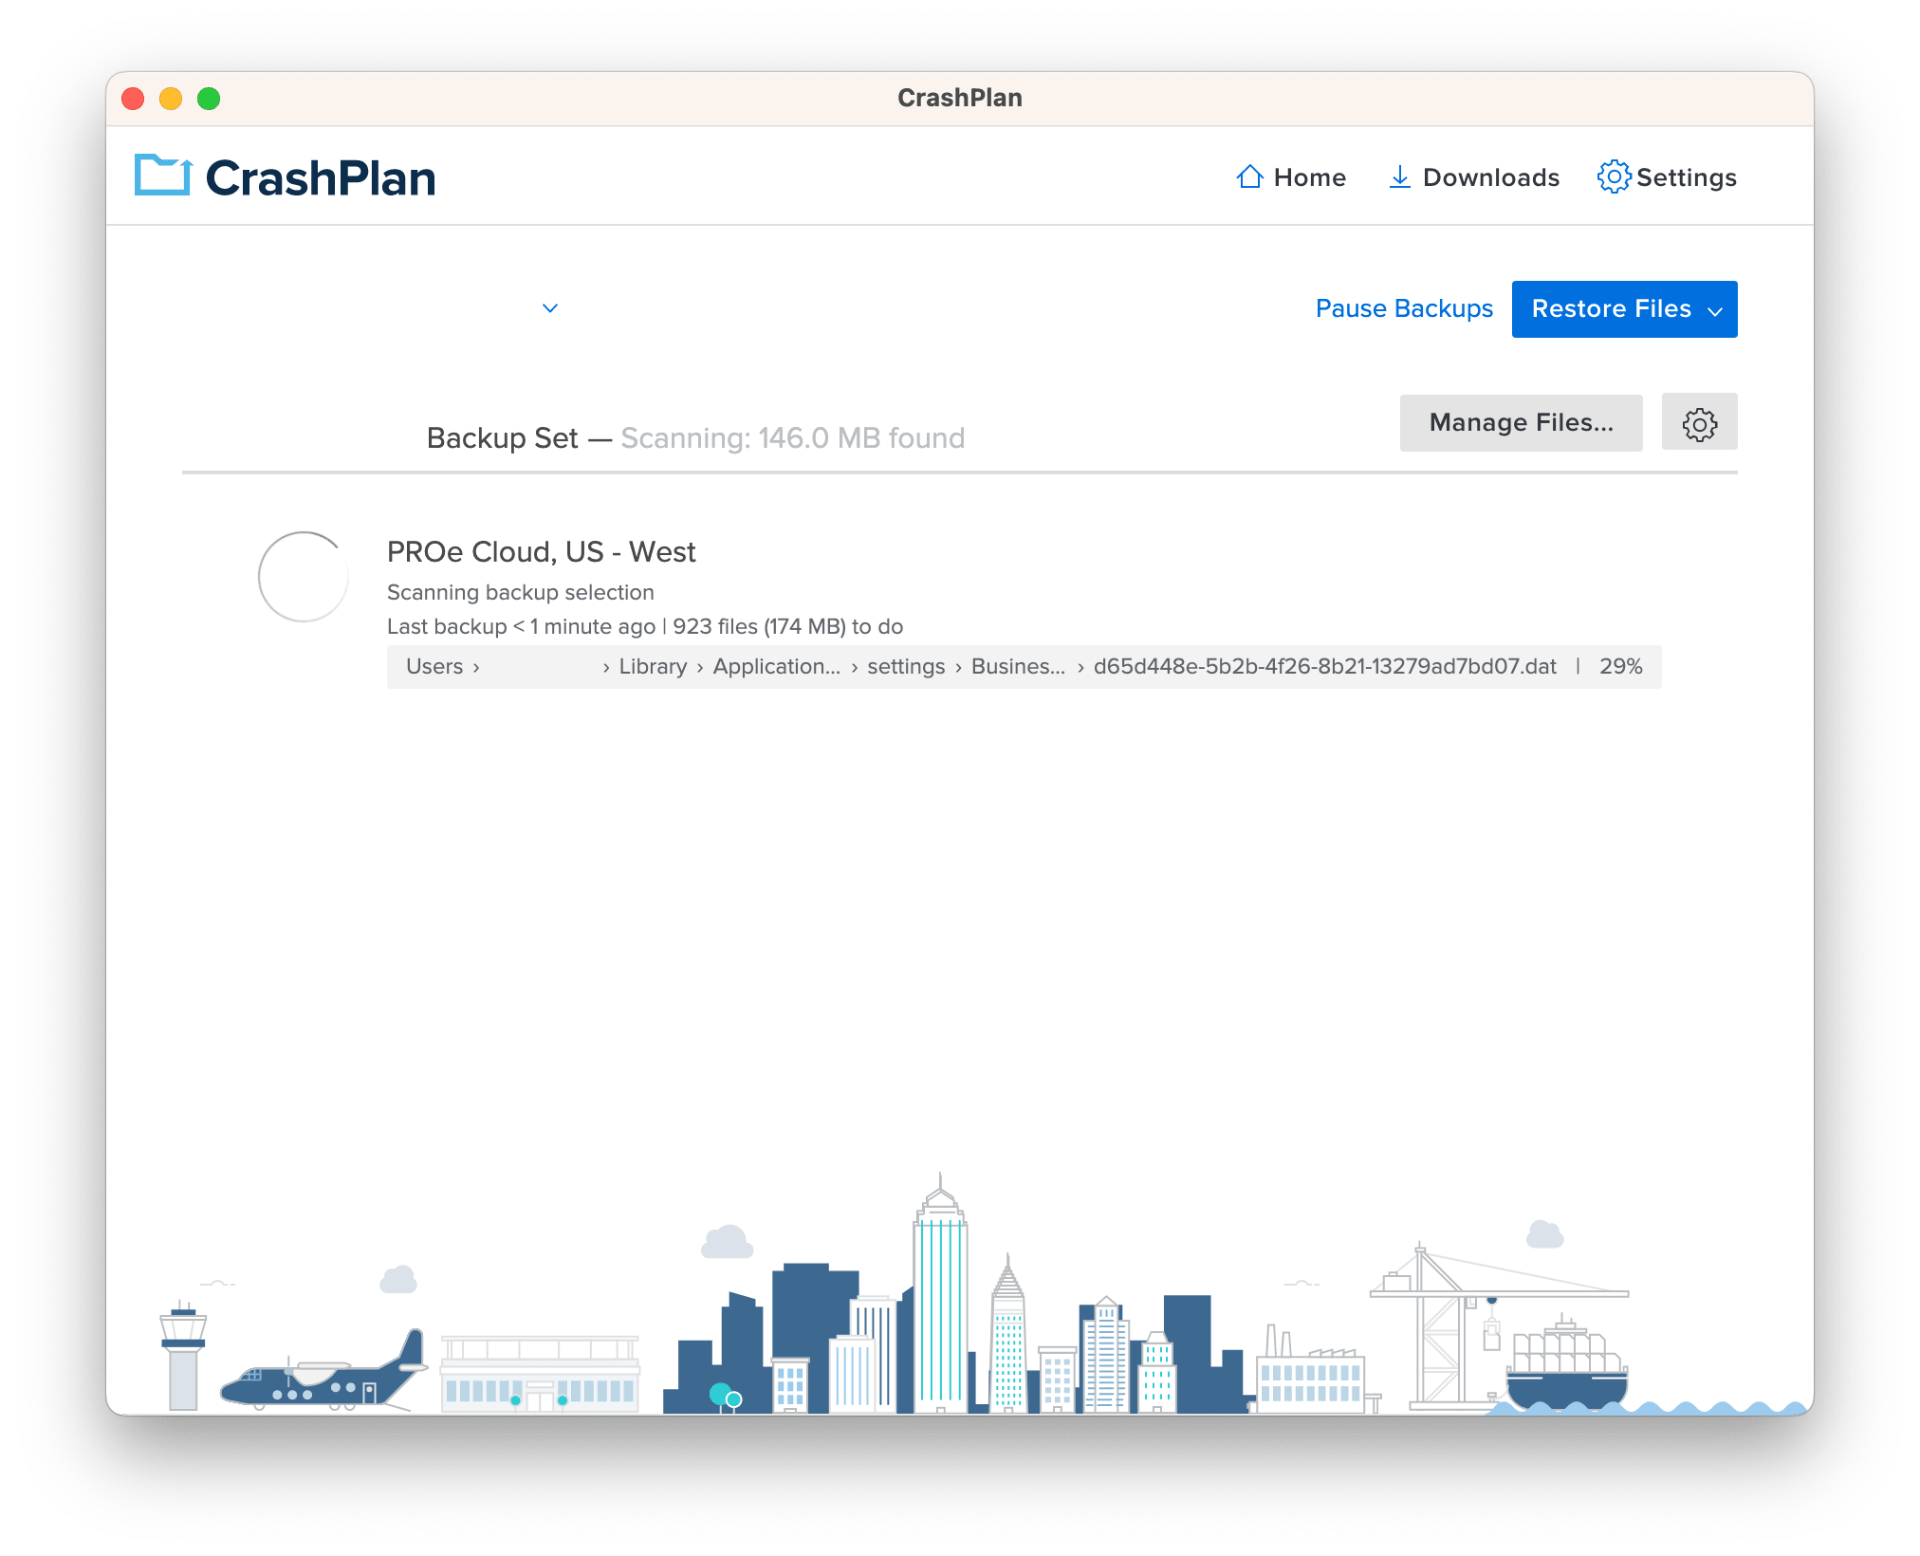
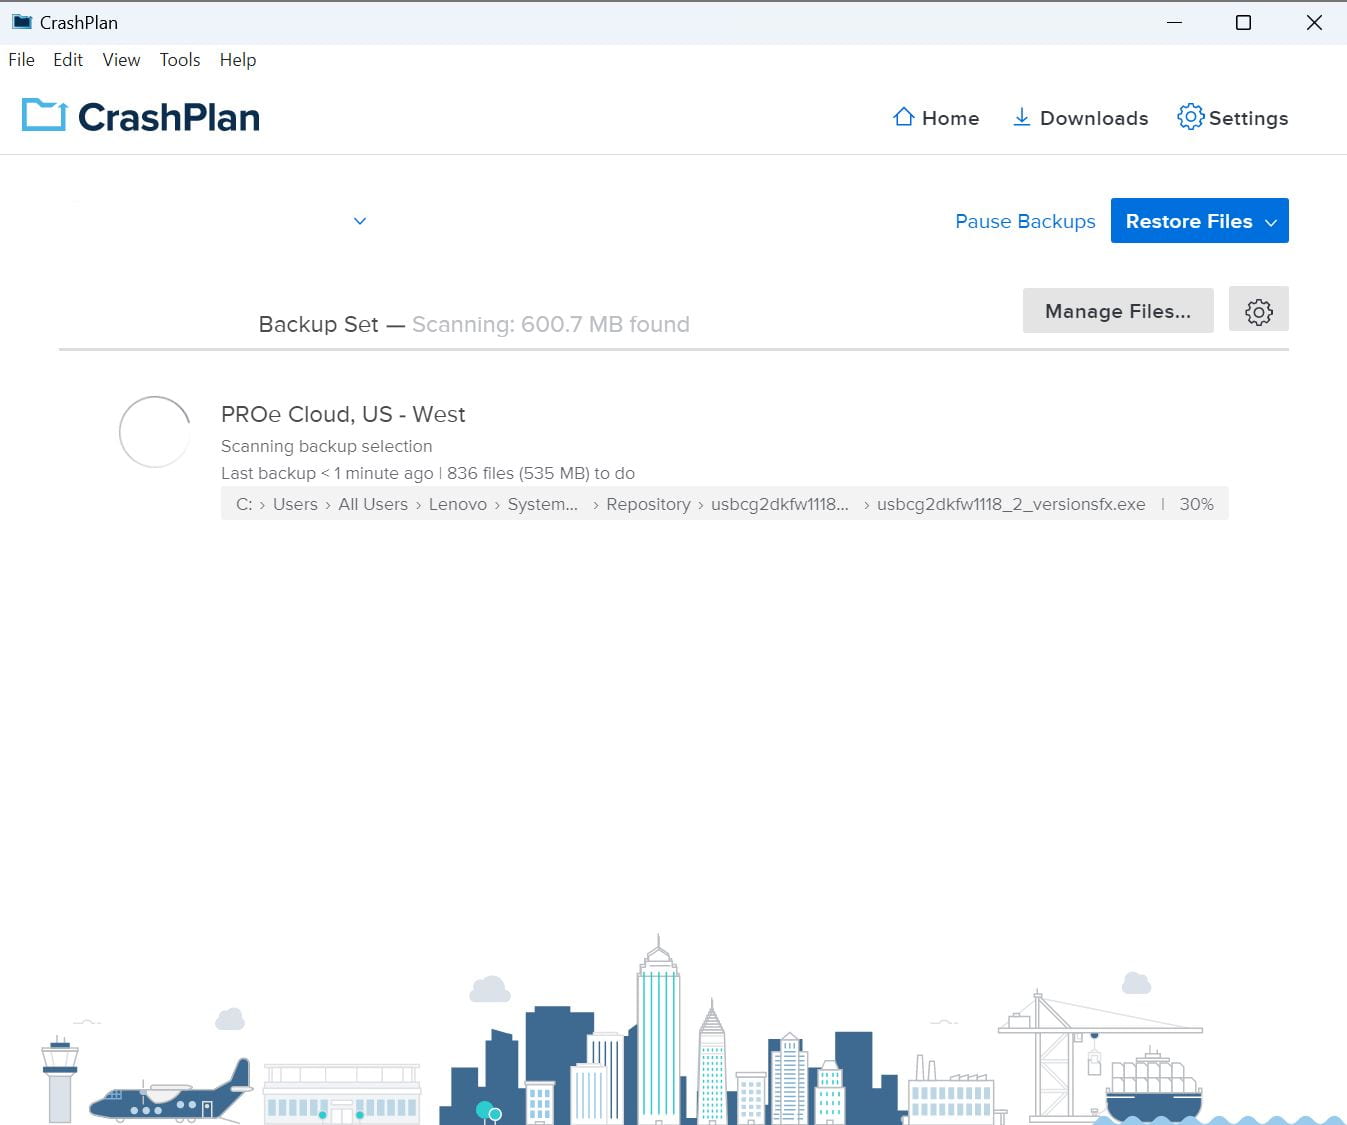
6. The CrashPlan application will start backing up the computer.
macOS CrashPlan install instructions
1. Go to the website:
Enter your @uw.edu email address. Click Sign In. Authenticate with your @uw.edu credentials when asked.
2. Mouse-over ADMINISTRATION, underneath CLIENT MANAGEMENT click Downloads, click the download icon for the most-recent, highest-number-version of the Mac option to download the
installer file.
3. Open the downloaded .dmg file, double-click the Install CrashPlan.pkg file, click Continue, click Install.
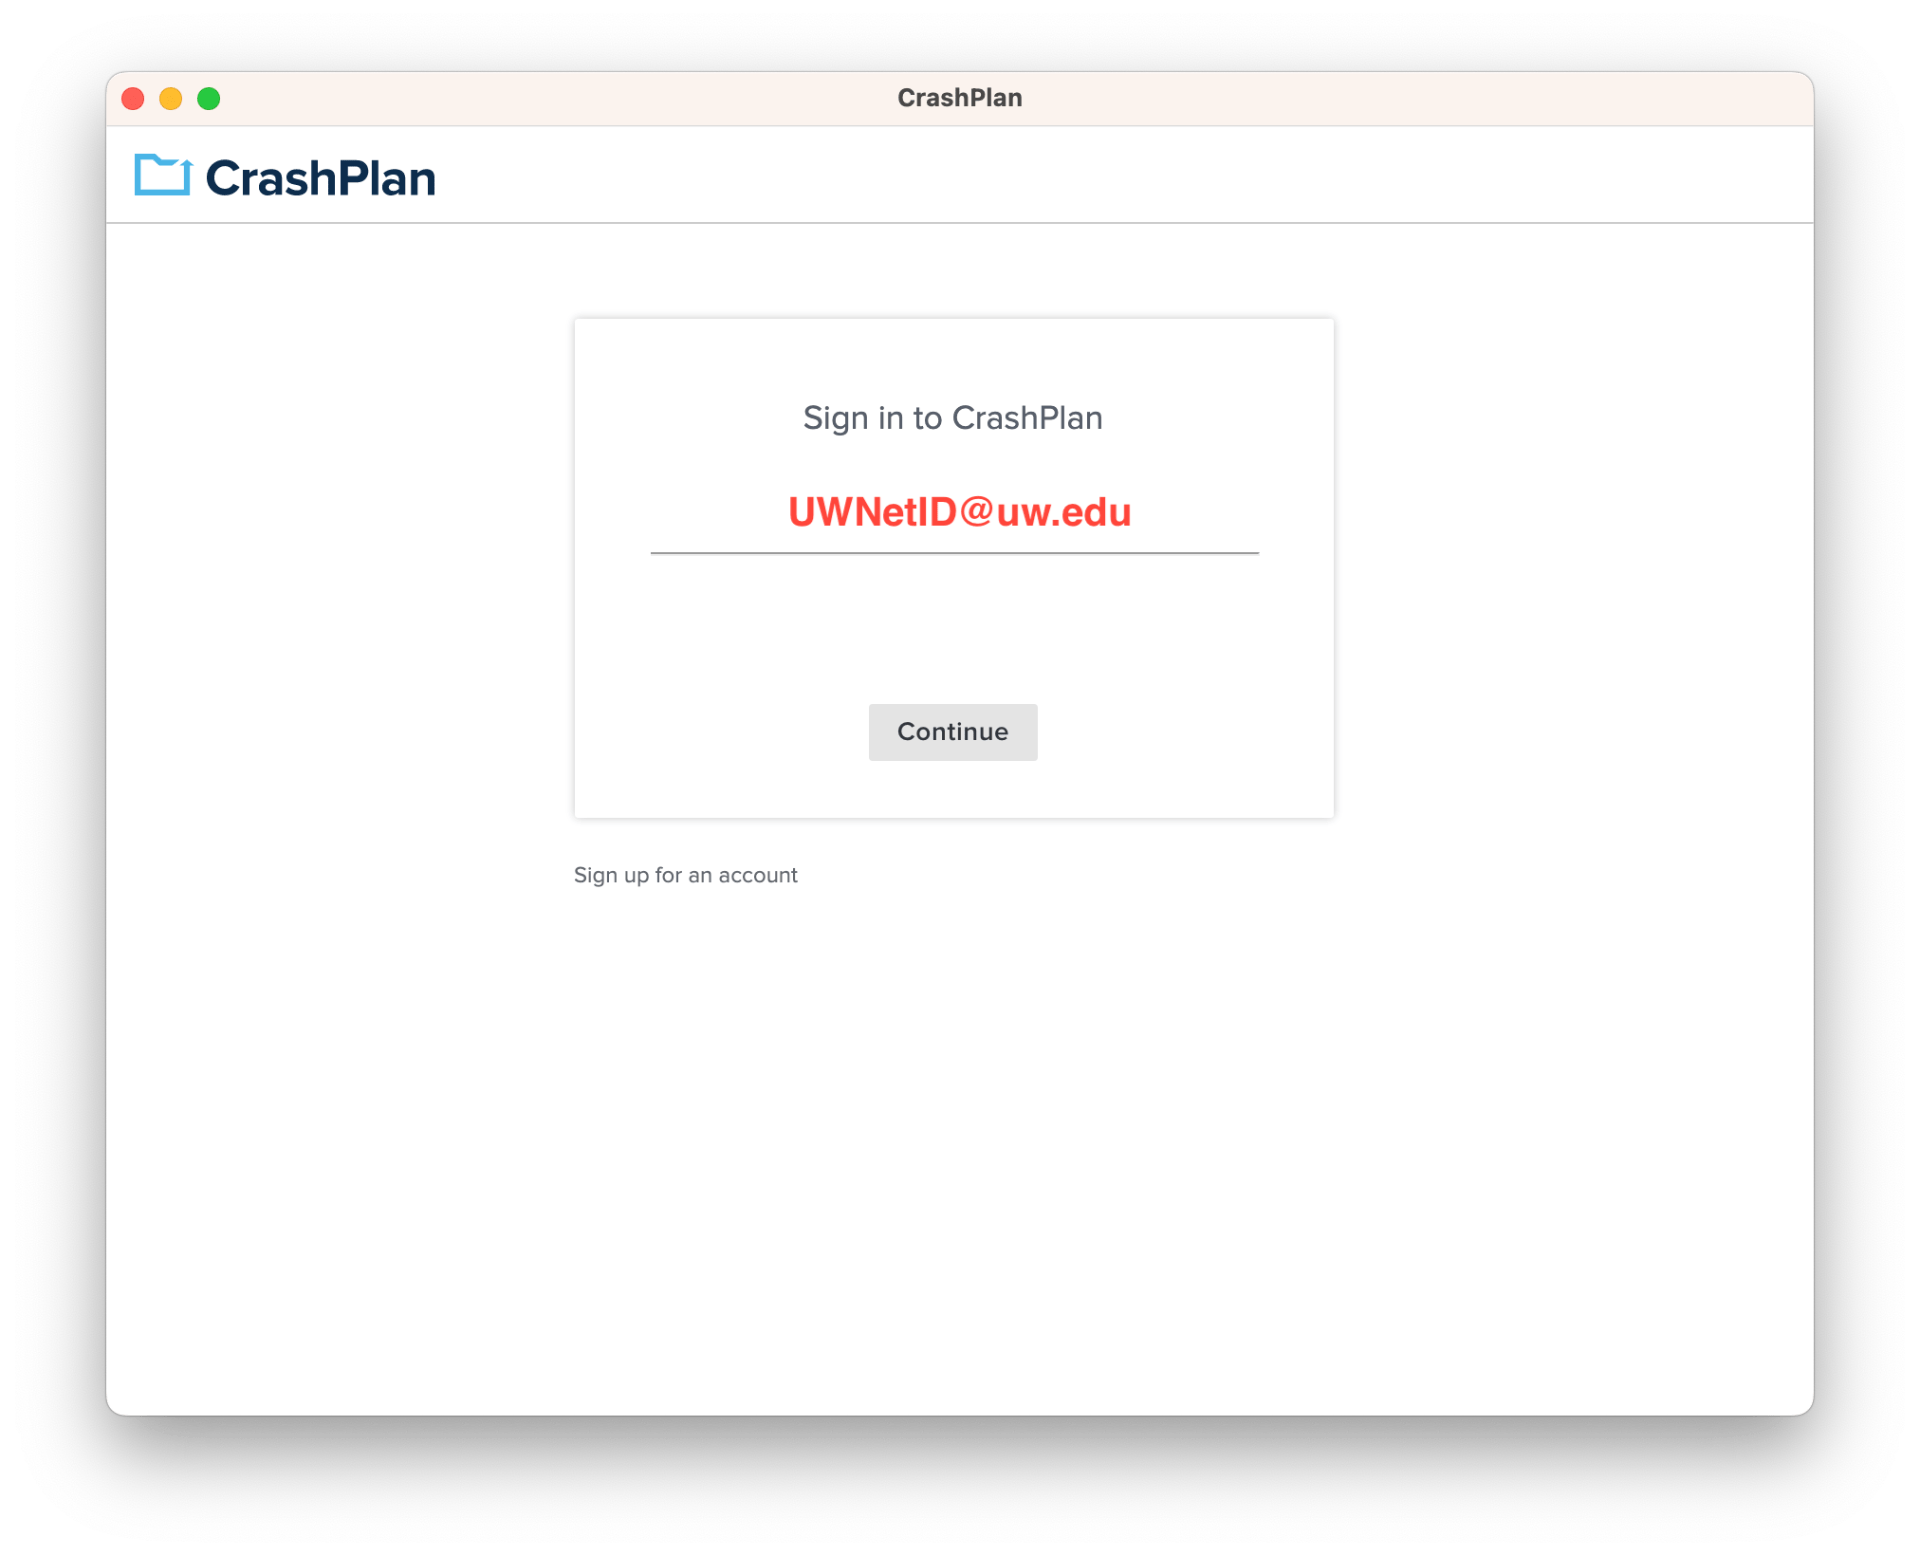
4. Start the CrashPlan application (if it does not open after installation), sign in using the following settings:
Username: your @uw.edu email address
Click Continue.
Authenticate with your @uw.edu credentials if asked.
5. Click Add New Device at the “…signing in for the first time…” screen, click Yes at the “Add as new device…” screen.

6. The CrashPlan application will start backing up the computer.