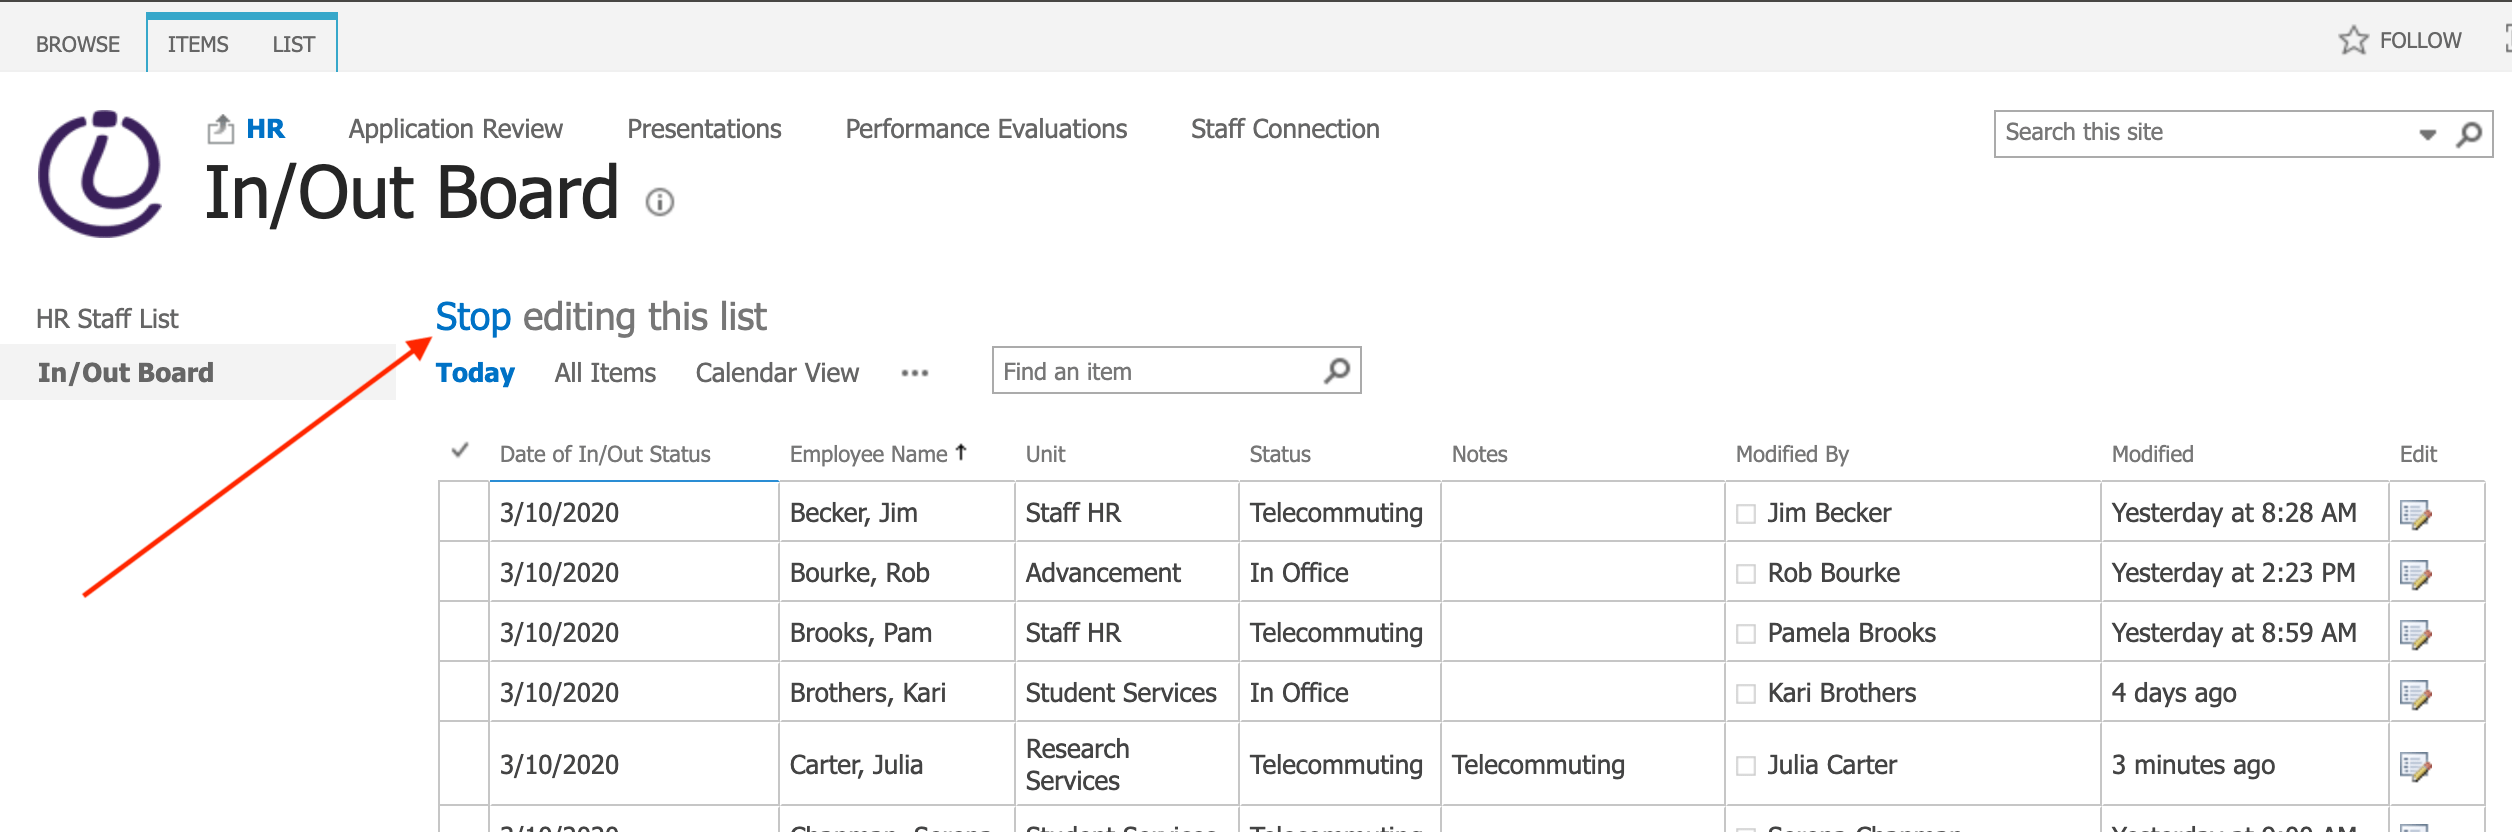
This page includes directions for adding or editing multiple SharePoint In/Out Board entries.
01) go to the SharePoint In/Out Board:
https://uwnetid.sharepoint.com/sites/ischoolnew/sites/HumanResources/Lists/InOutBoard/
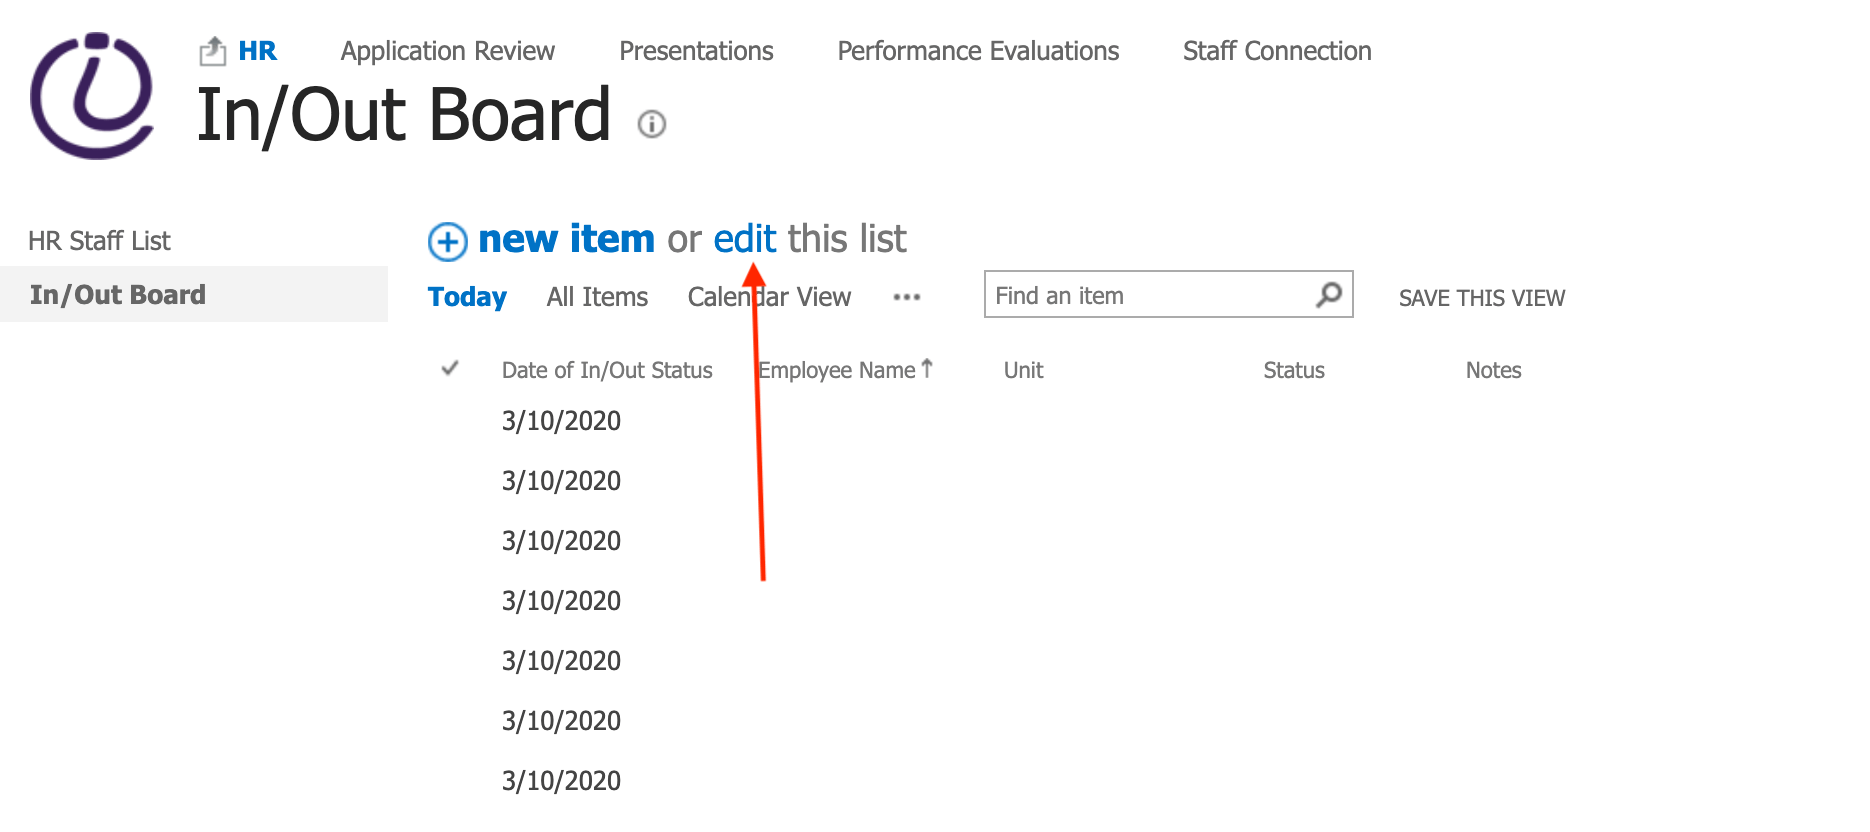
02) click edit
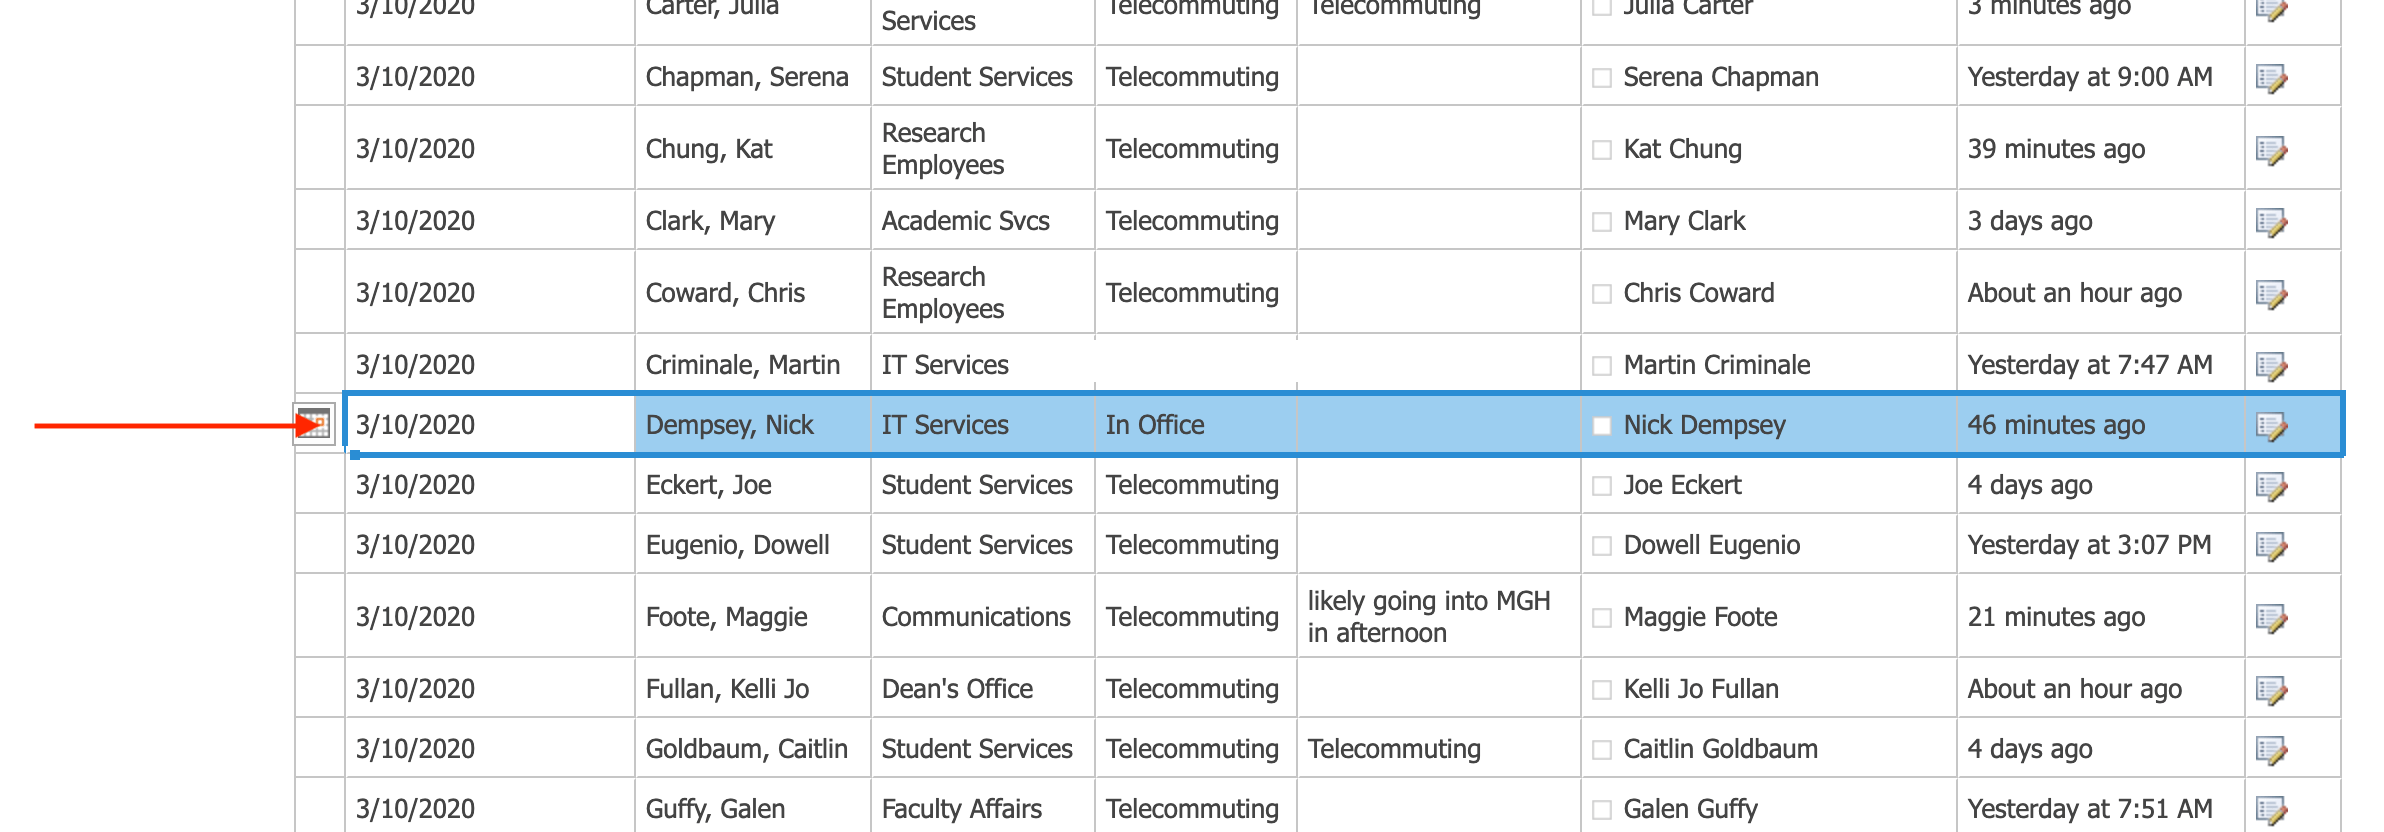
03) click the box next to a row to select the entire row (you can click-and-drag to select/highlight multiple rows), copy the row(s) using keyboard commands (Windows – Ctrl+C) (macOS – command+C)
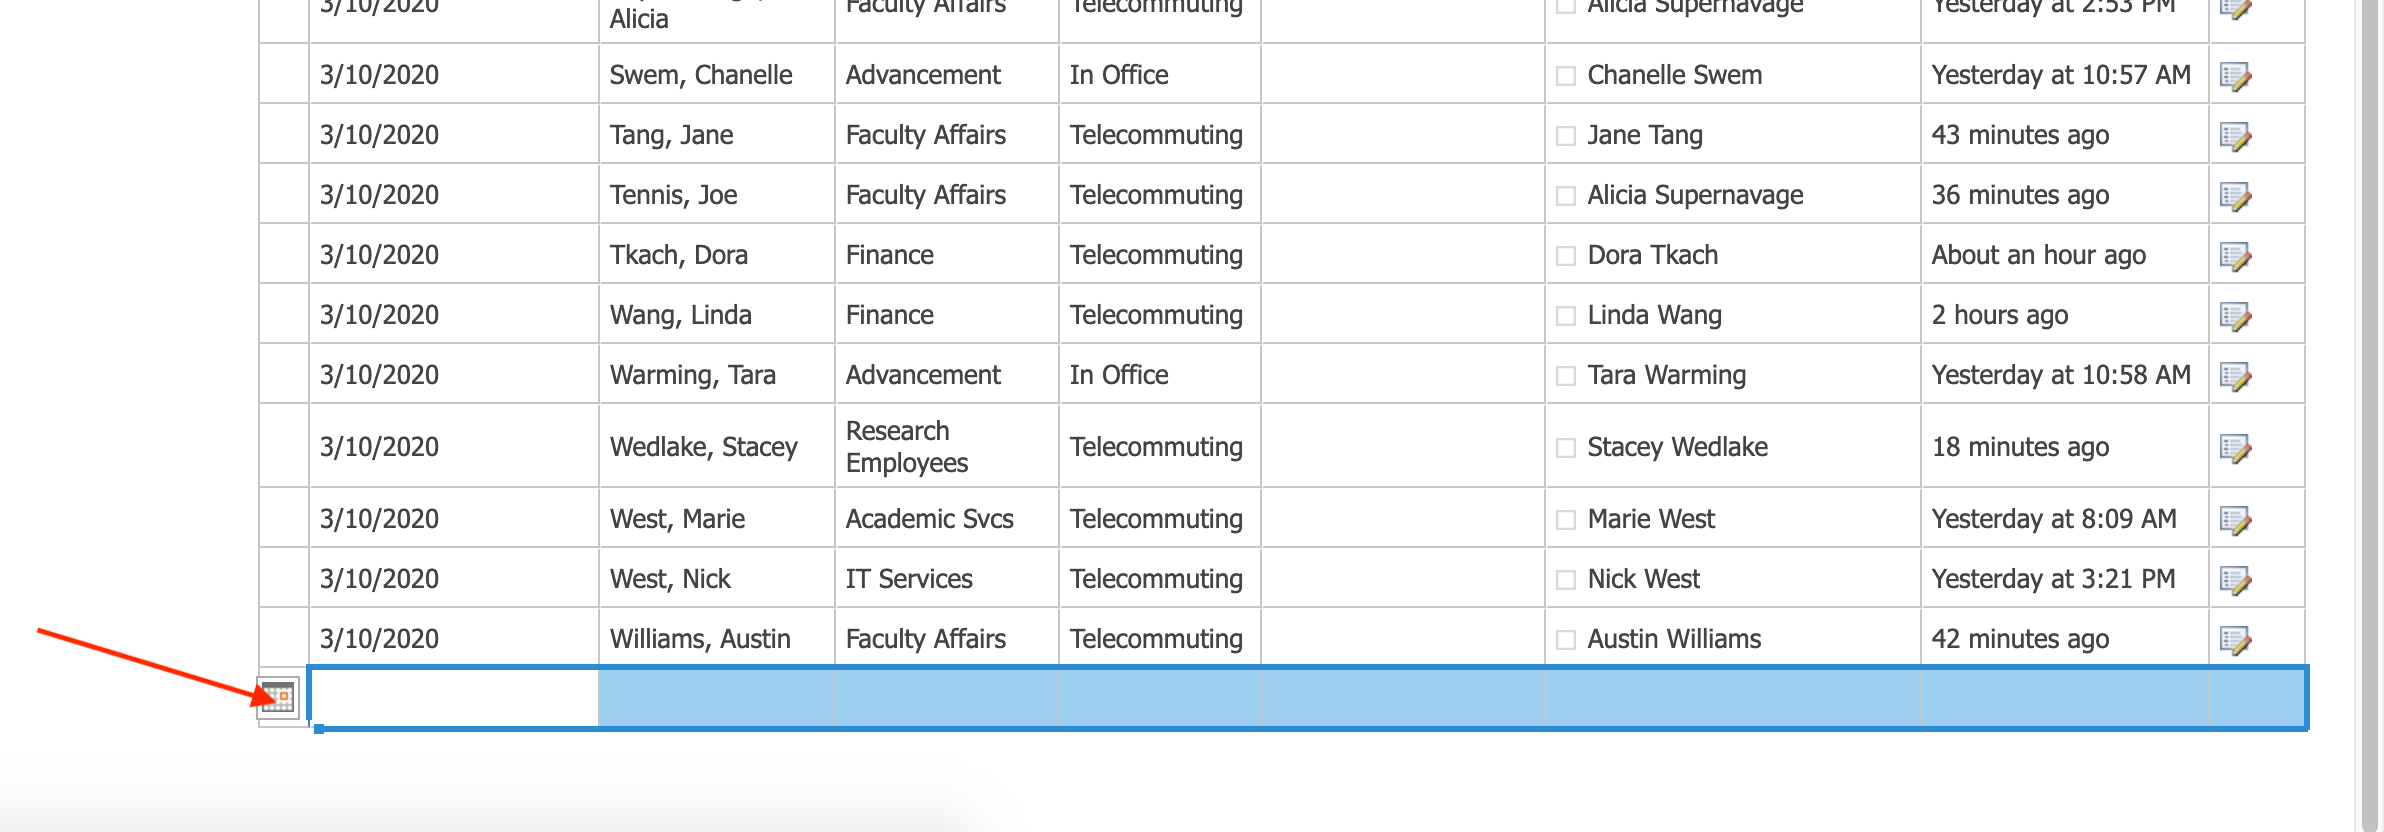
04) scroll down to the bottom of the page/list to find an empty row entry, click the far-left-box next to the empty row, paste the row(s) using keyboard commands (Windows – Ctrl+V) (macOS – command+V)
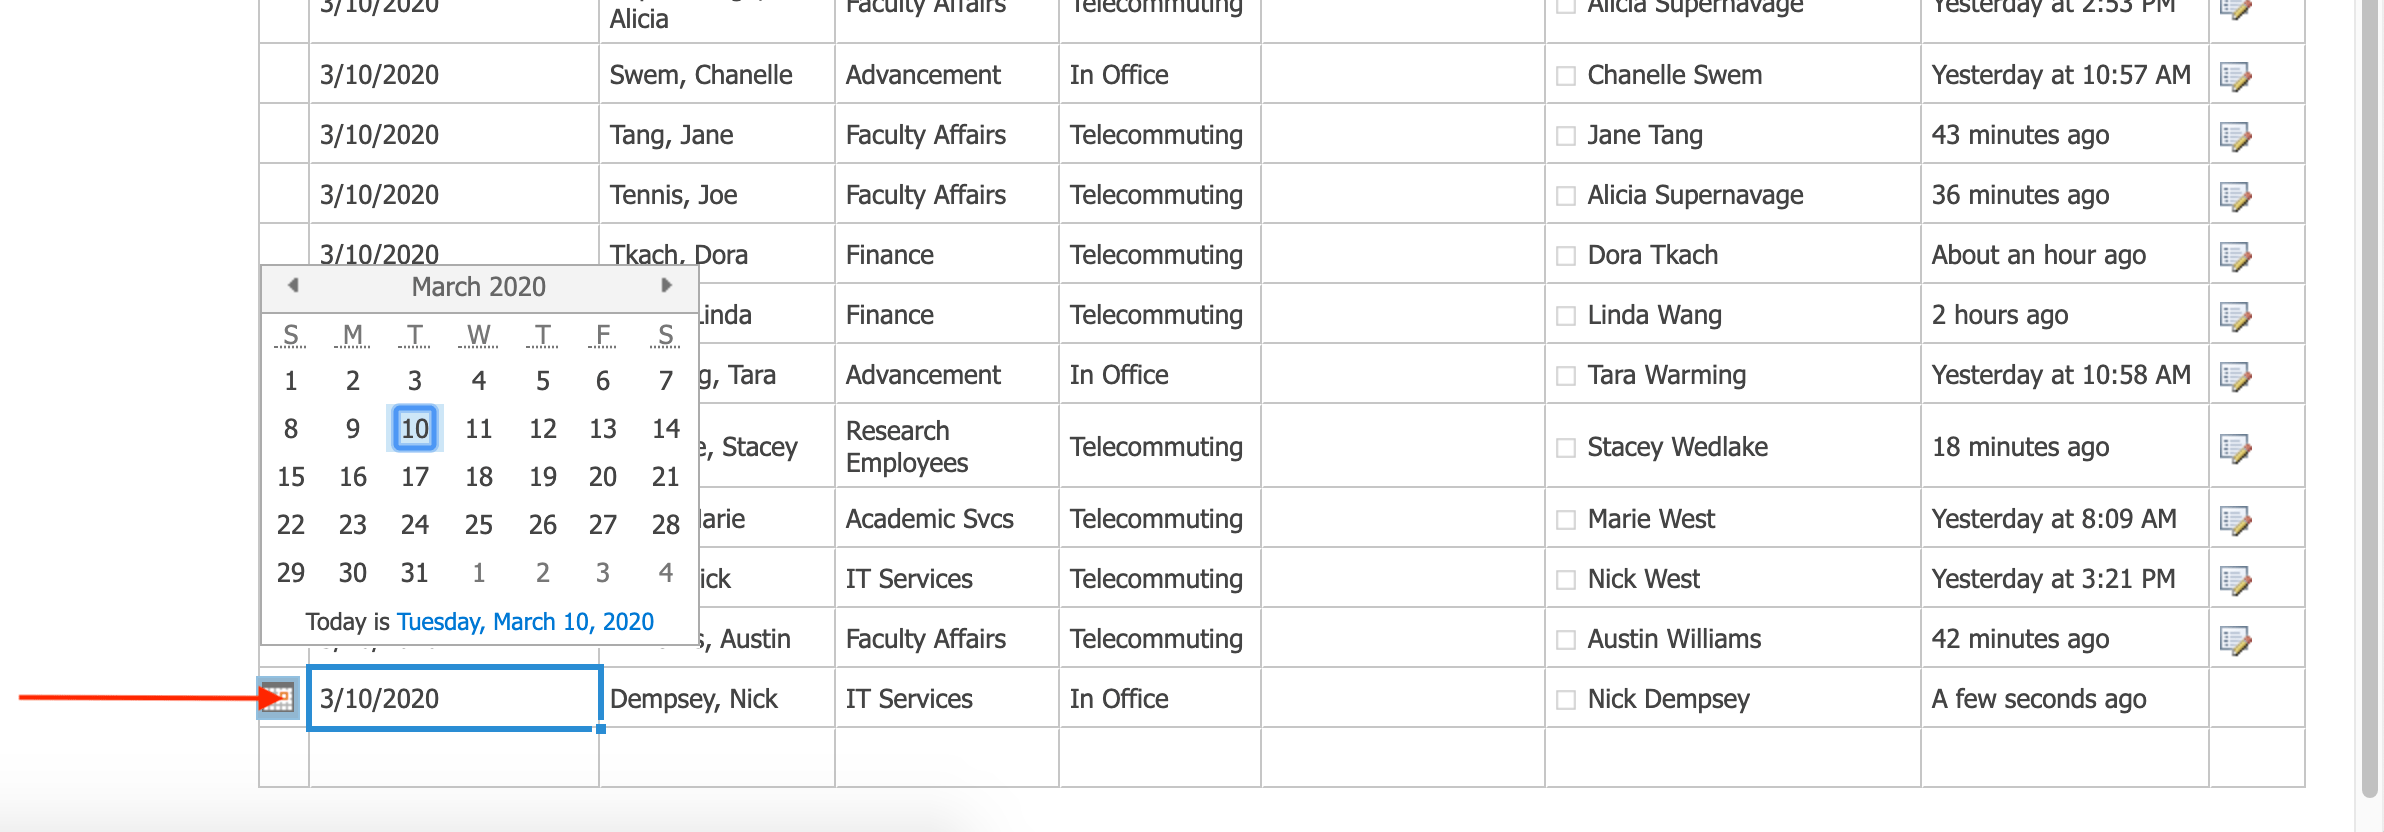
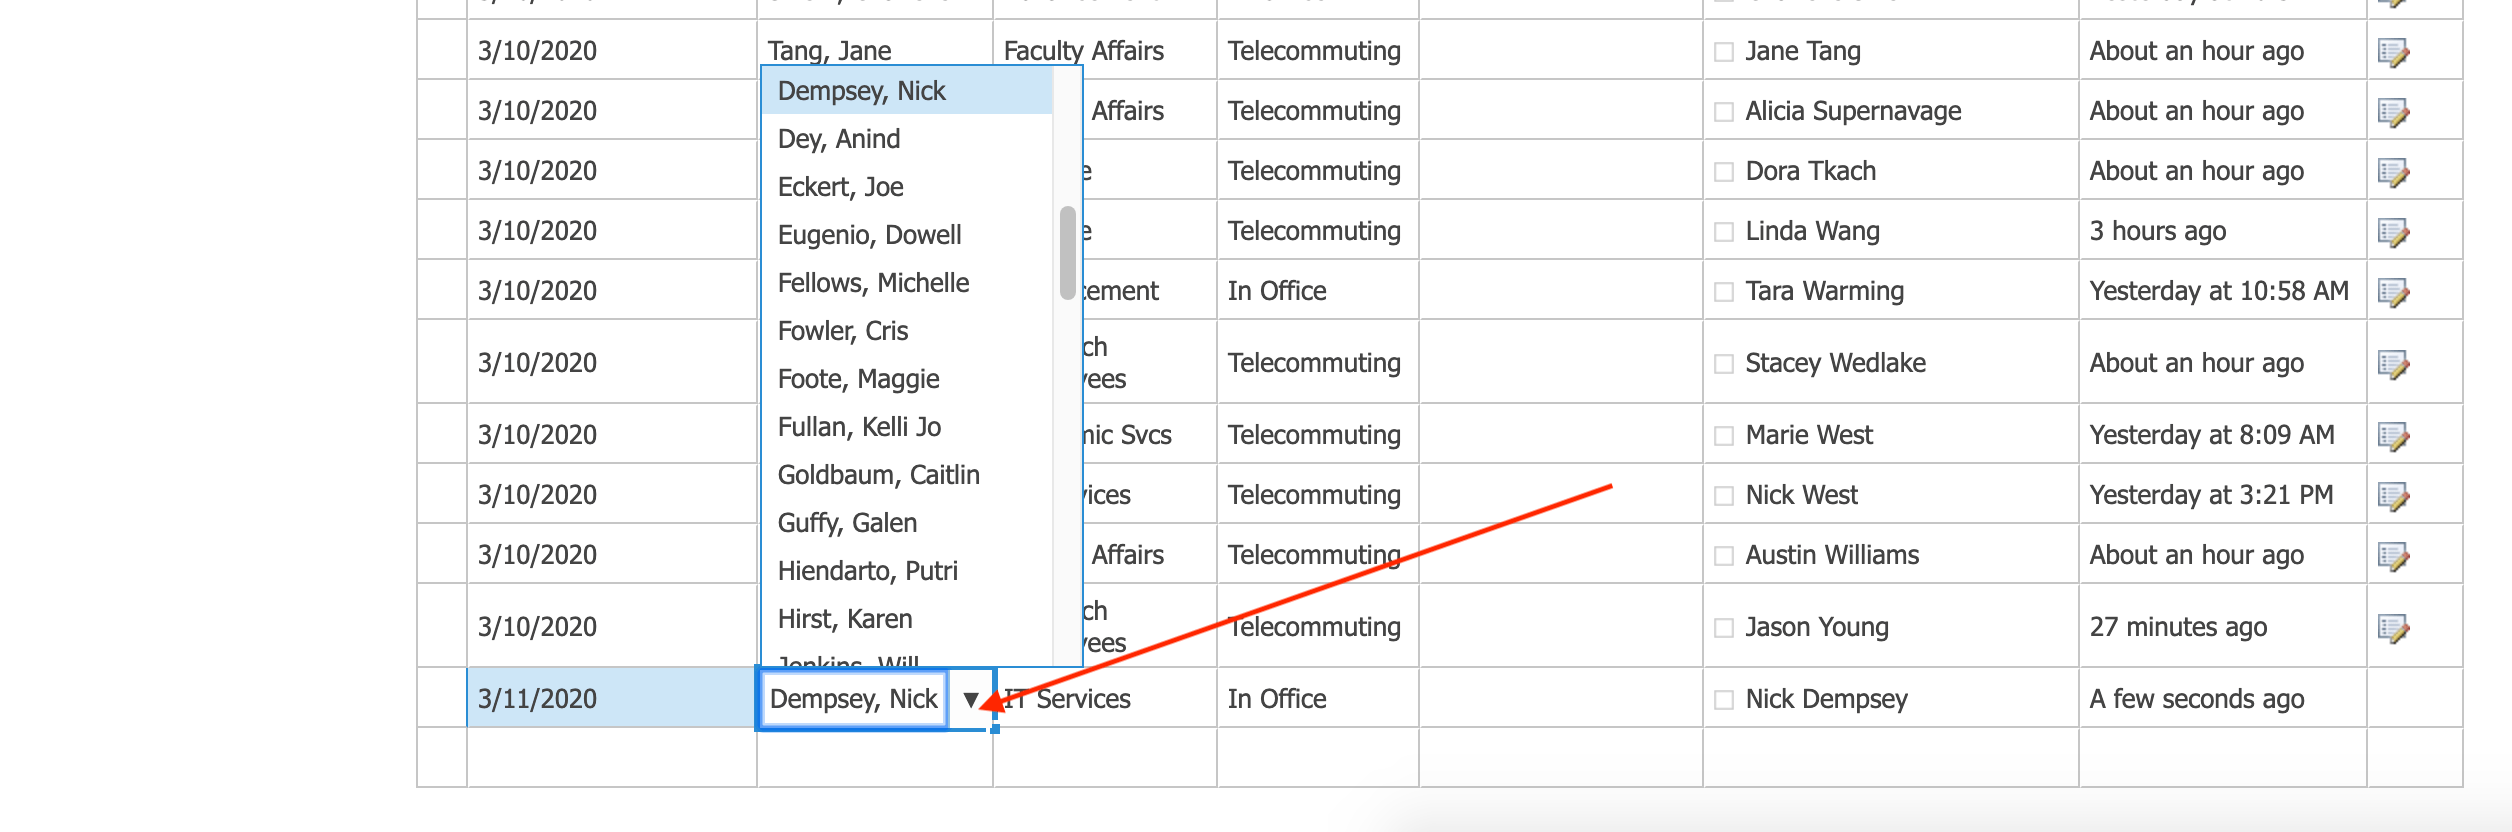
05) click the calendar icon to edit the date as necessary, click the drop-down button next to other entries to edit as necessary
06) when edits are complete, scroll to the top of the page/list, click Stop to save your edits